Exploring ASP.NET for Sitecore XM Cloud Development
Akshay Sura - Partner
31 May 2025
We started our Jamstack journey seven years ago, long before anyone we knew had even heard of it. Back then, we faced questions about our Lighthouse scores and the overall approach. It's been quite the journey, and seeing how much awareness around composable architecture has grown since then is encouraging.
When we first started, we chose Next.js because of its promise of static site generation. I also loved how seamless the build and deployment process was with Vercel, how easy it was to revalidate content and how fast the sites performed.
Coming from a server-side ASP.NET MVC background, this was an entirely new world for me. I'm not a React or Next.js developer by trade, but I learned enough to navigate my way around.
Over the years, Vercel and Next.js continued to improve. But recently, the trend has shifted toward server-side rendering, which feels almost like going back to the ASP.NET approach we had moved away from. The most frustrating part is the requirement to use middleware functions. This added complexity increases costs and makes me question why we're using Next.js at all. At this point, the main advantage I see with Next.js is the DevOps setup that Vercel provides.
Here is how I setup to use ASP.NET for XM Cloud development.
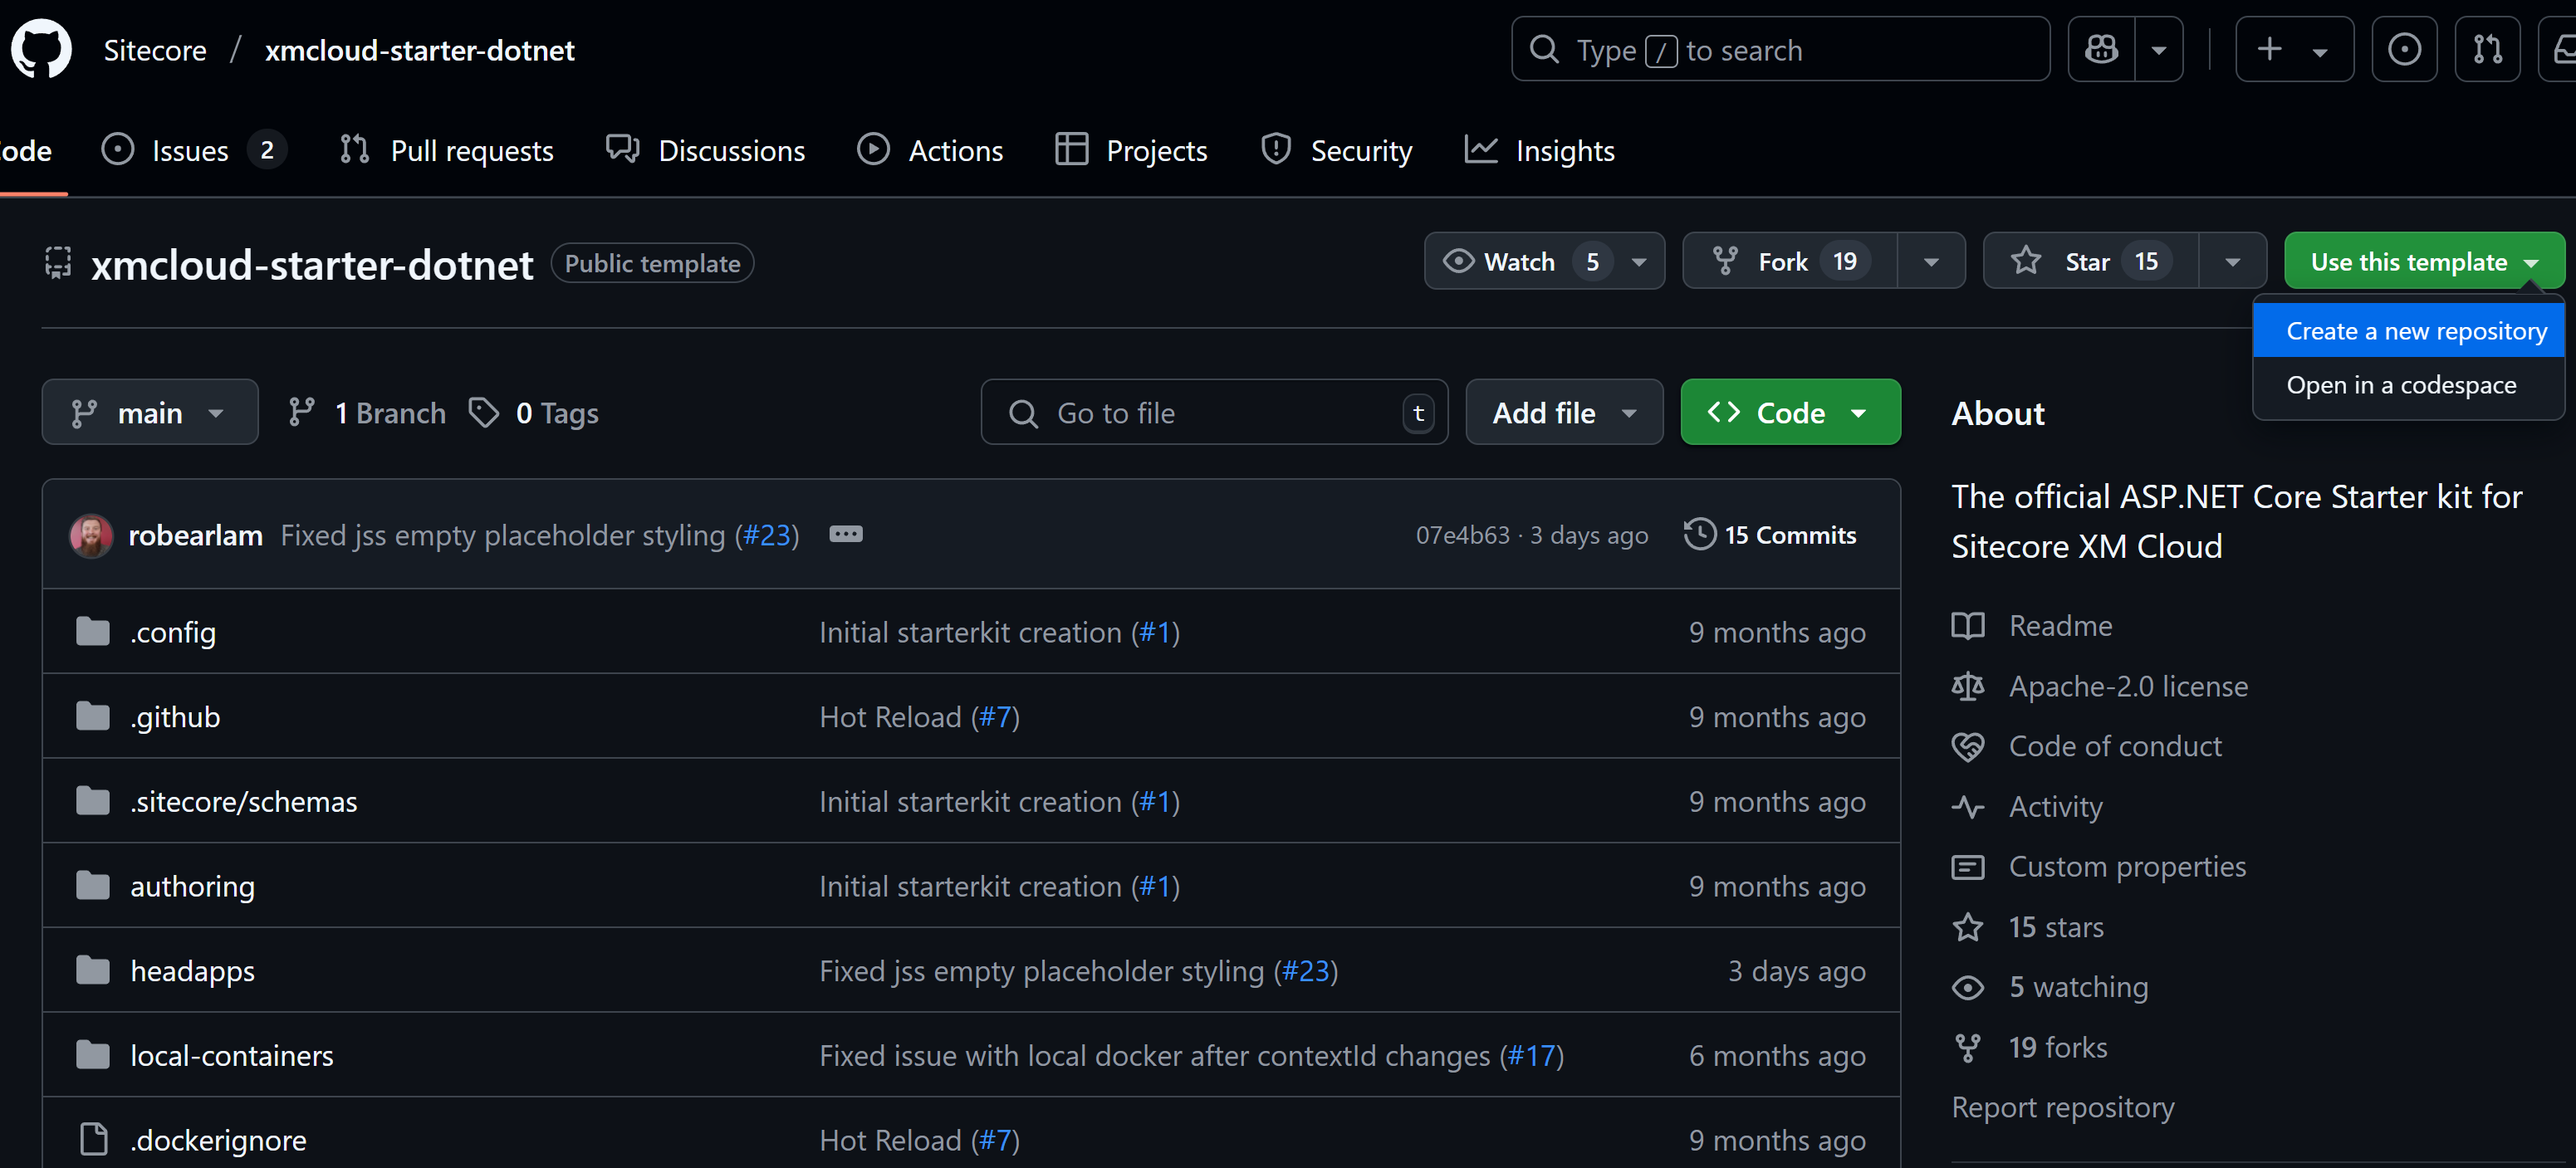
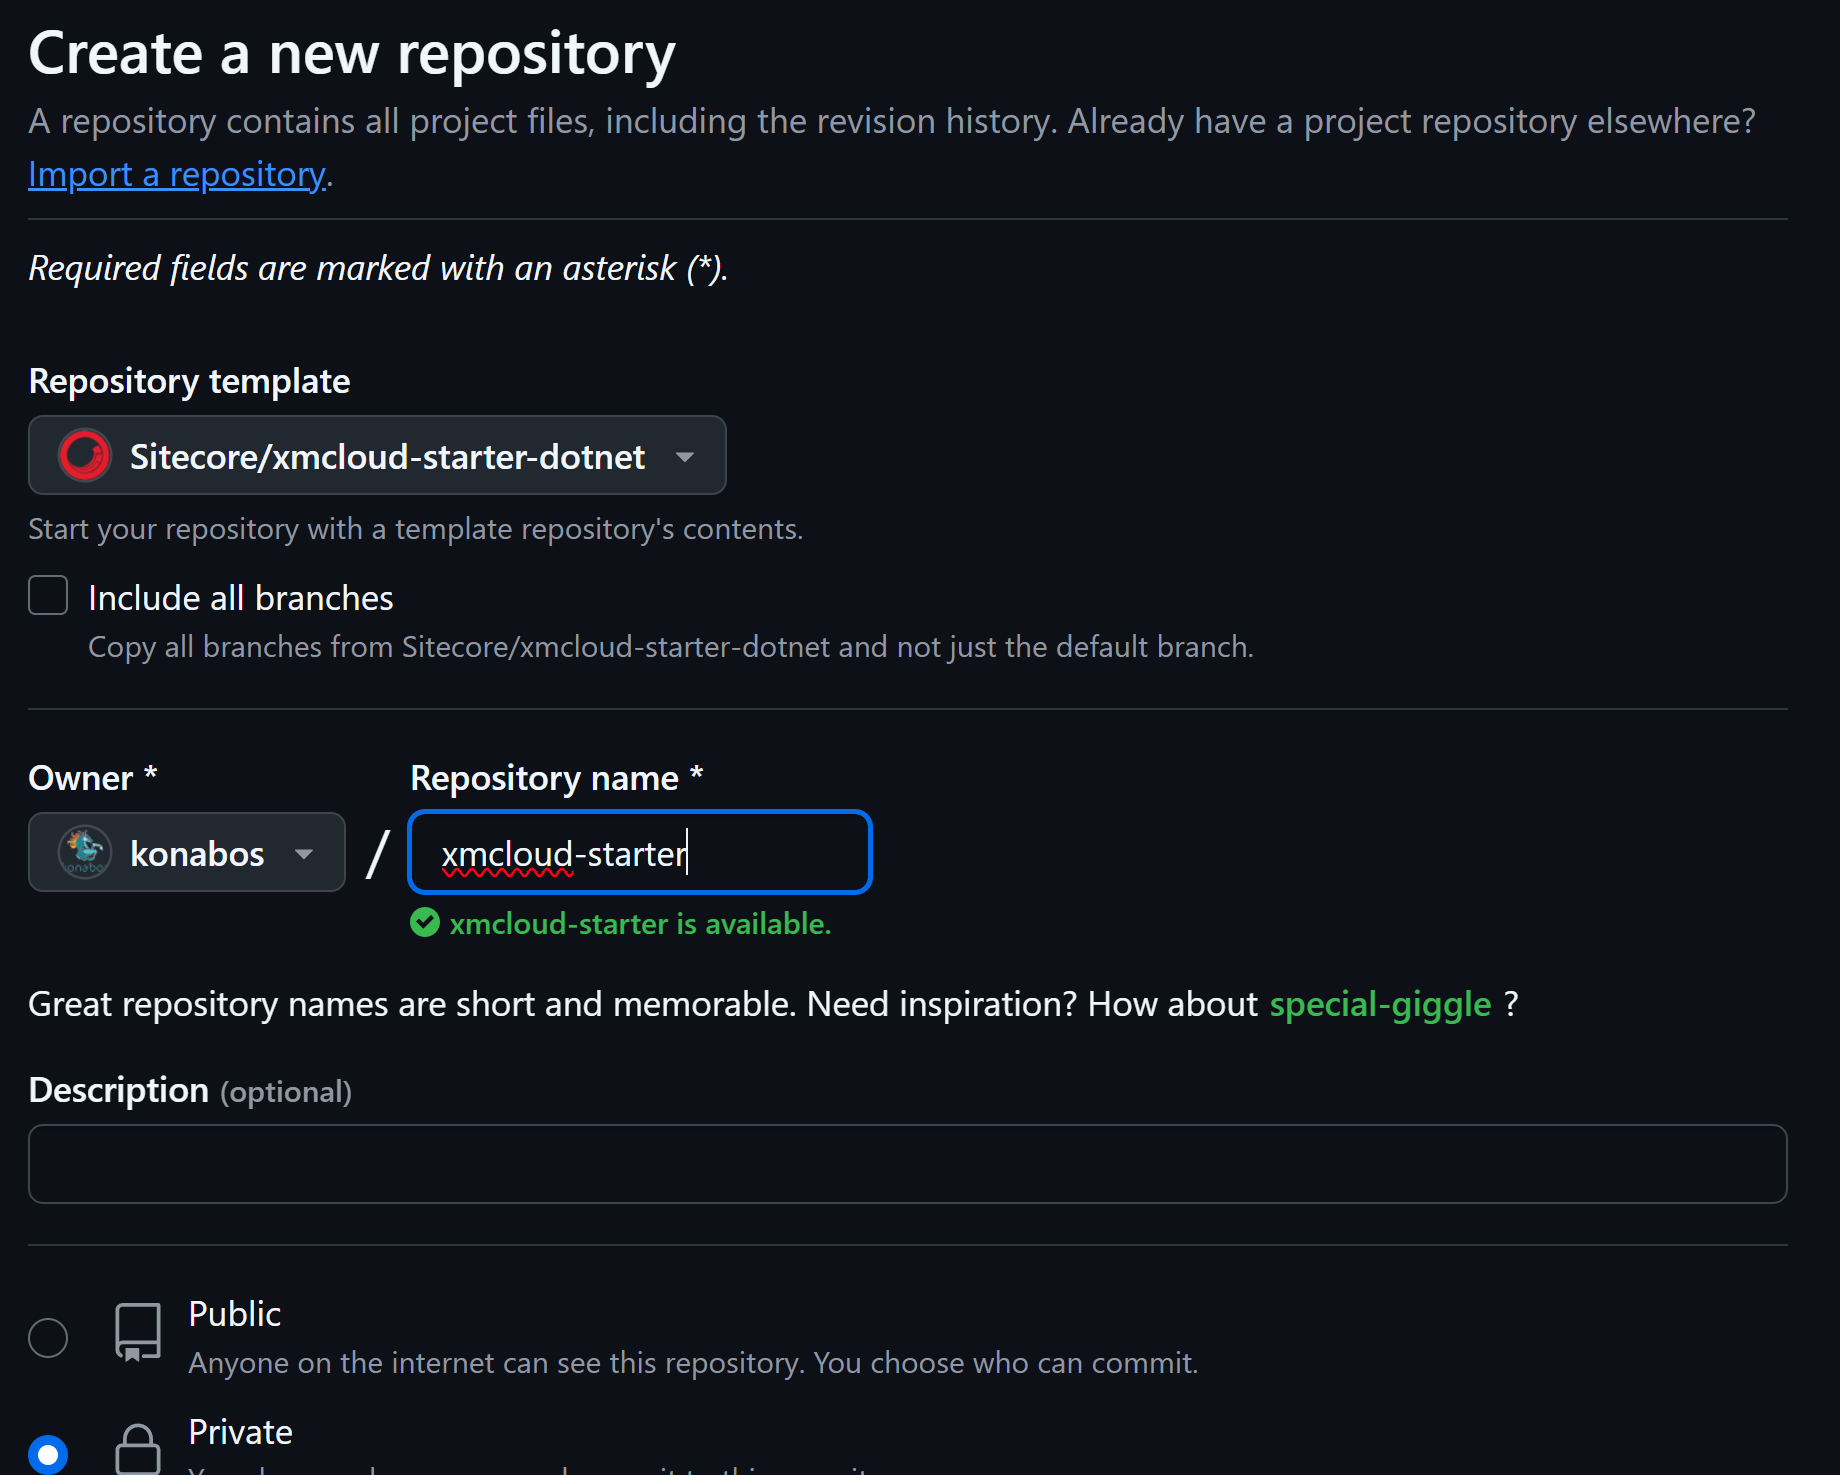
Create a repository from this template: https://github.com/Sitecore/xmcloud-starter-dotnet
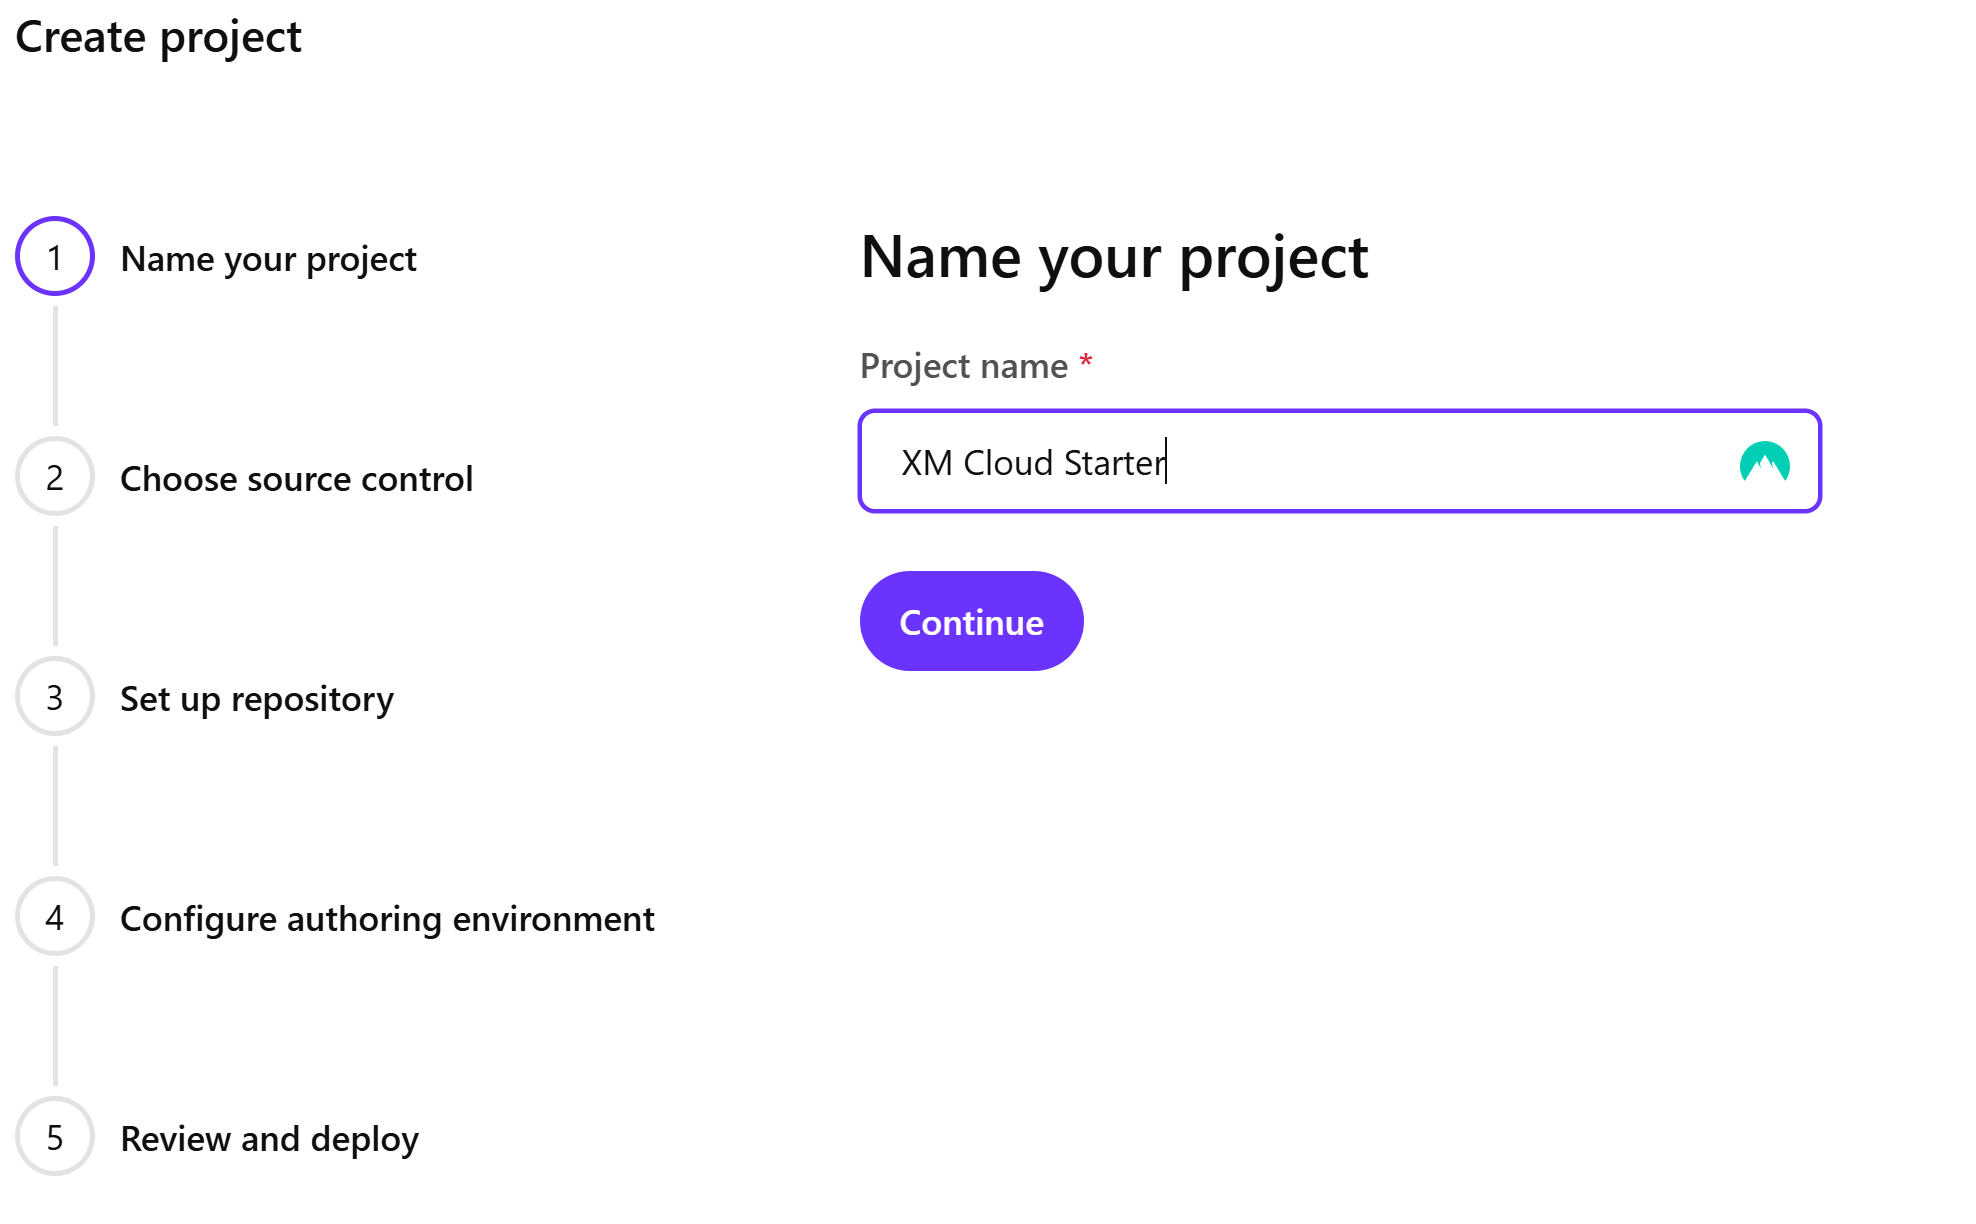
Log into the Sitecore Deploy Portal and create a new project.
Select where your source control is hosted, in my case it is in GitHub.
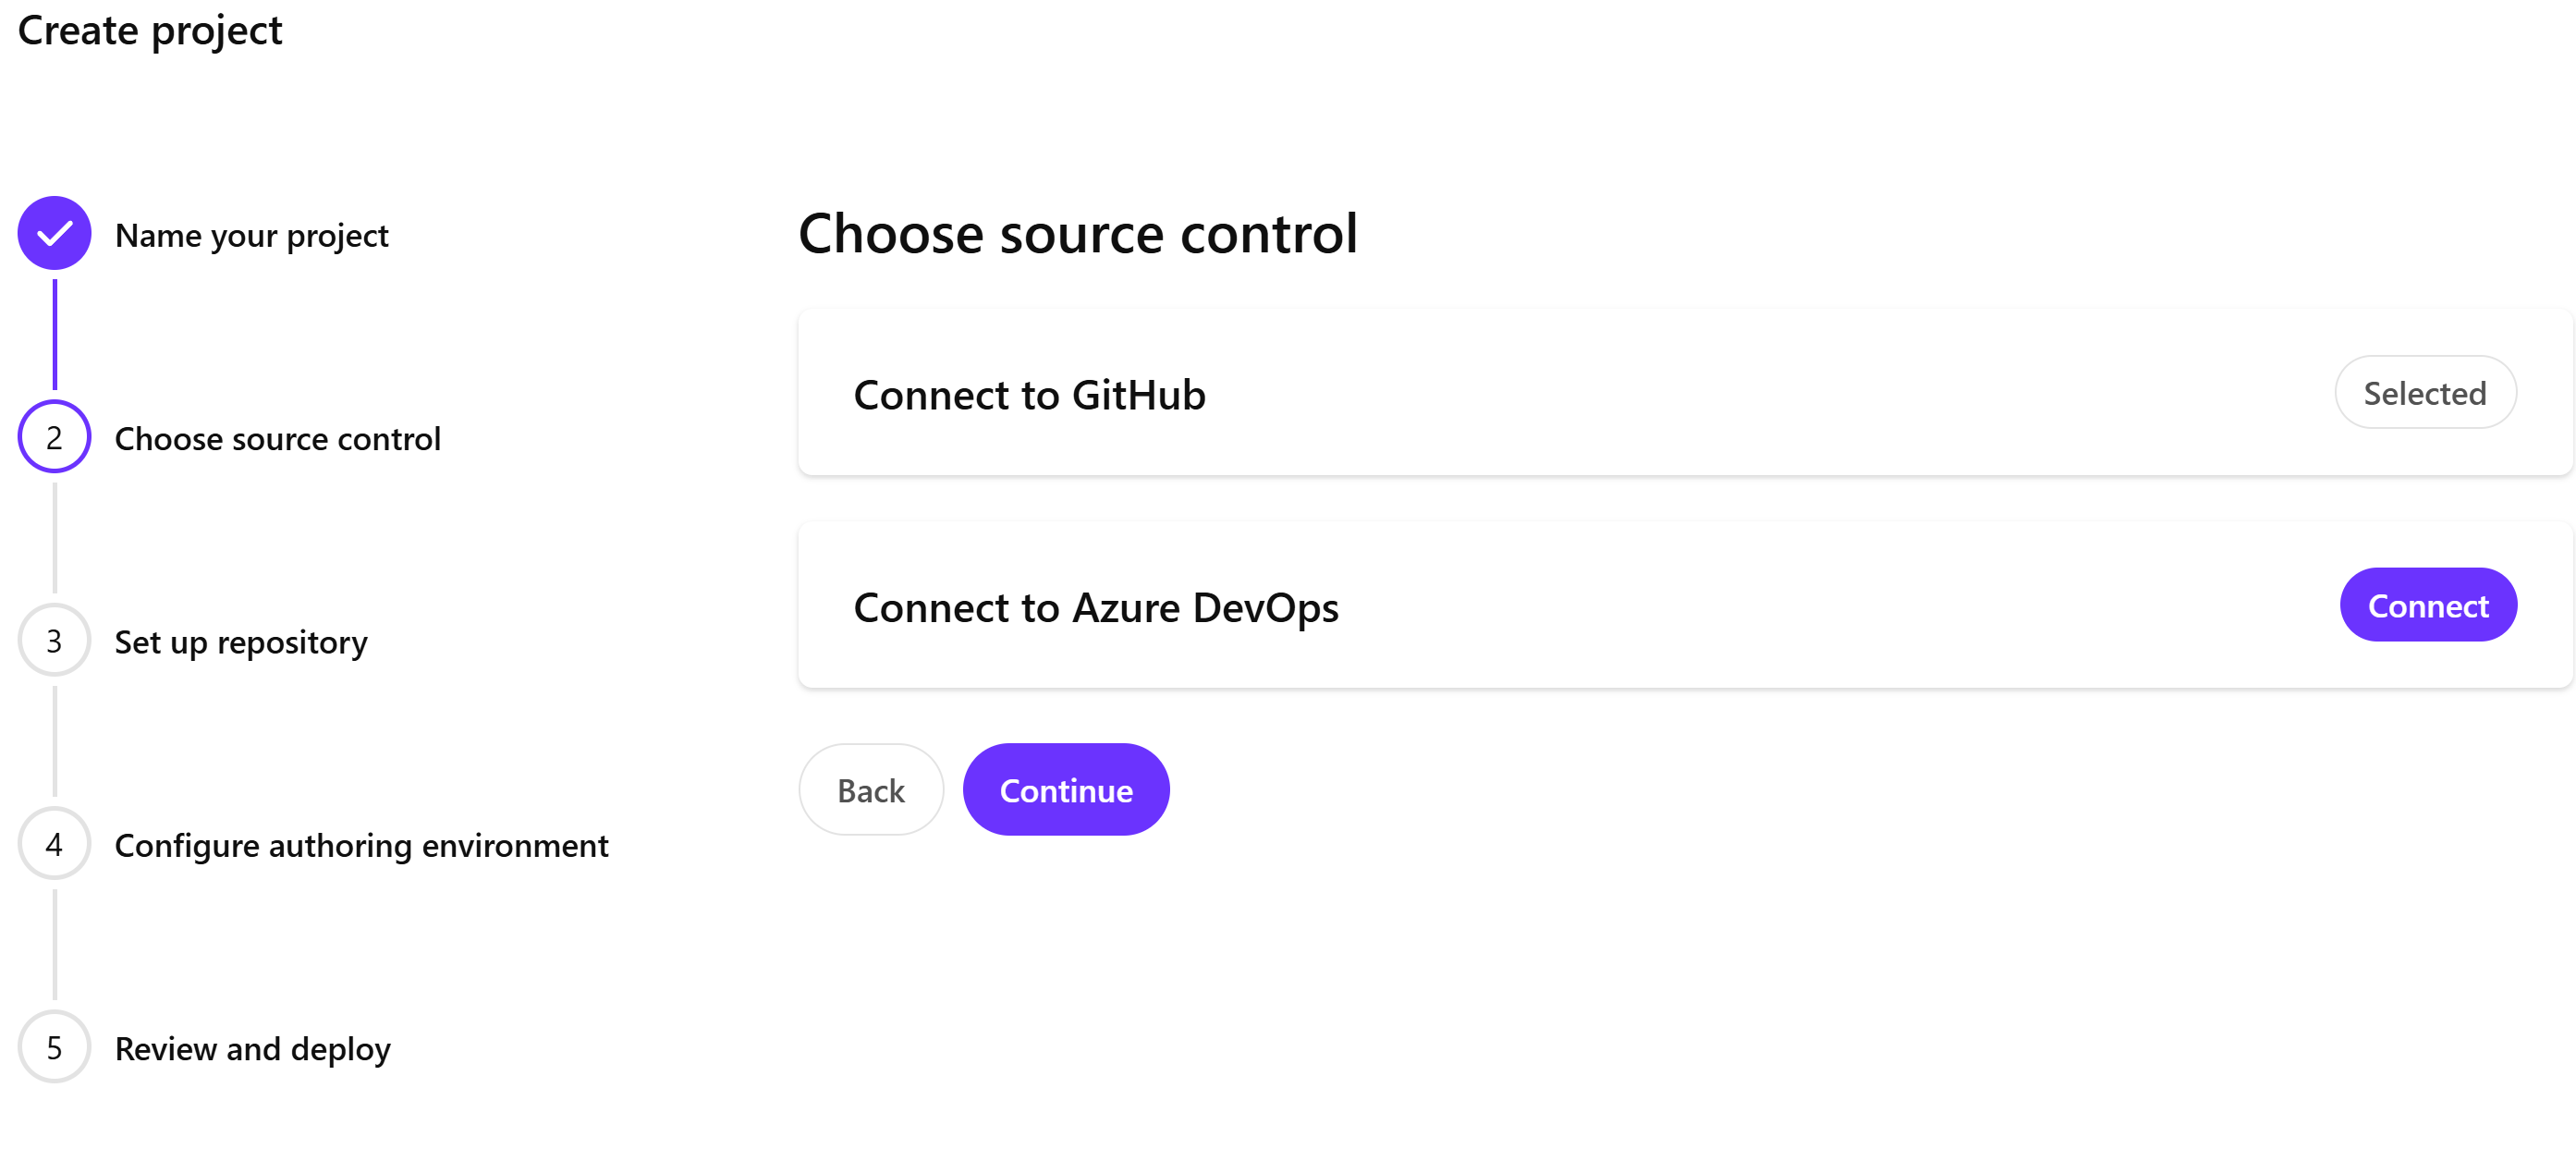
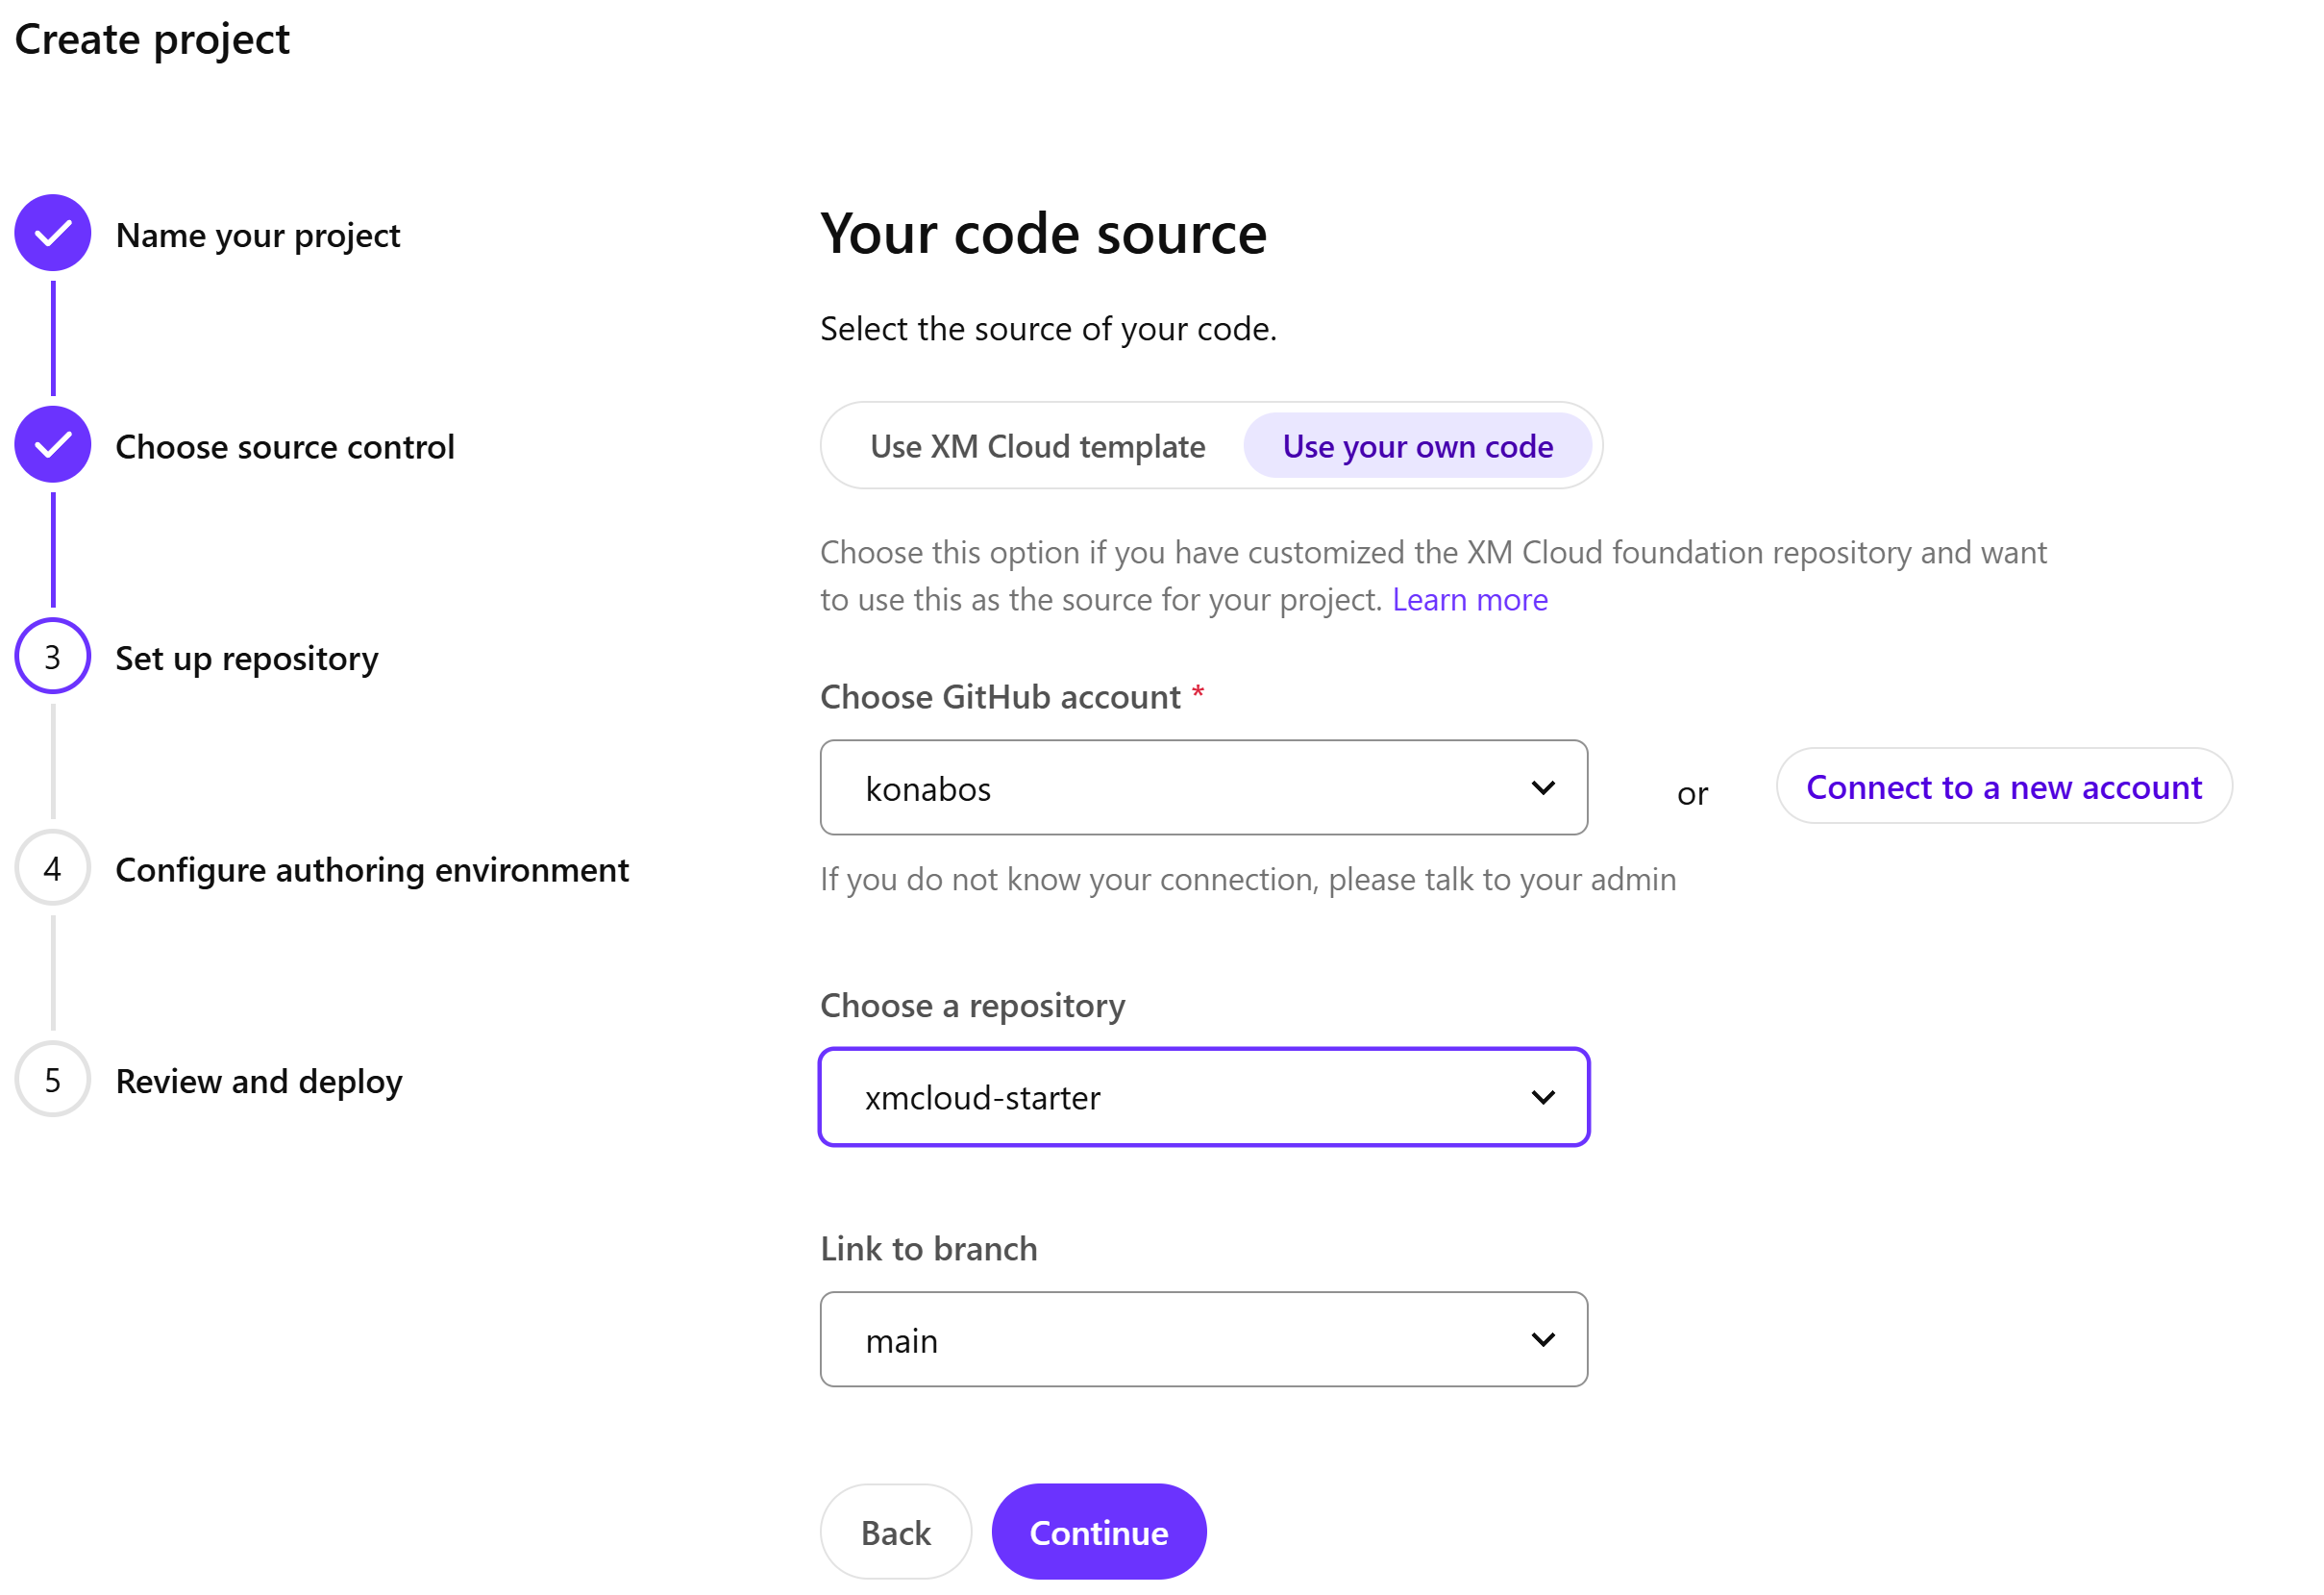
Select "Use your own code" in the Select the source of your code section, followed by selecting your GitHub, the repository we created and select the branch.
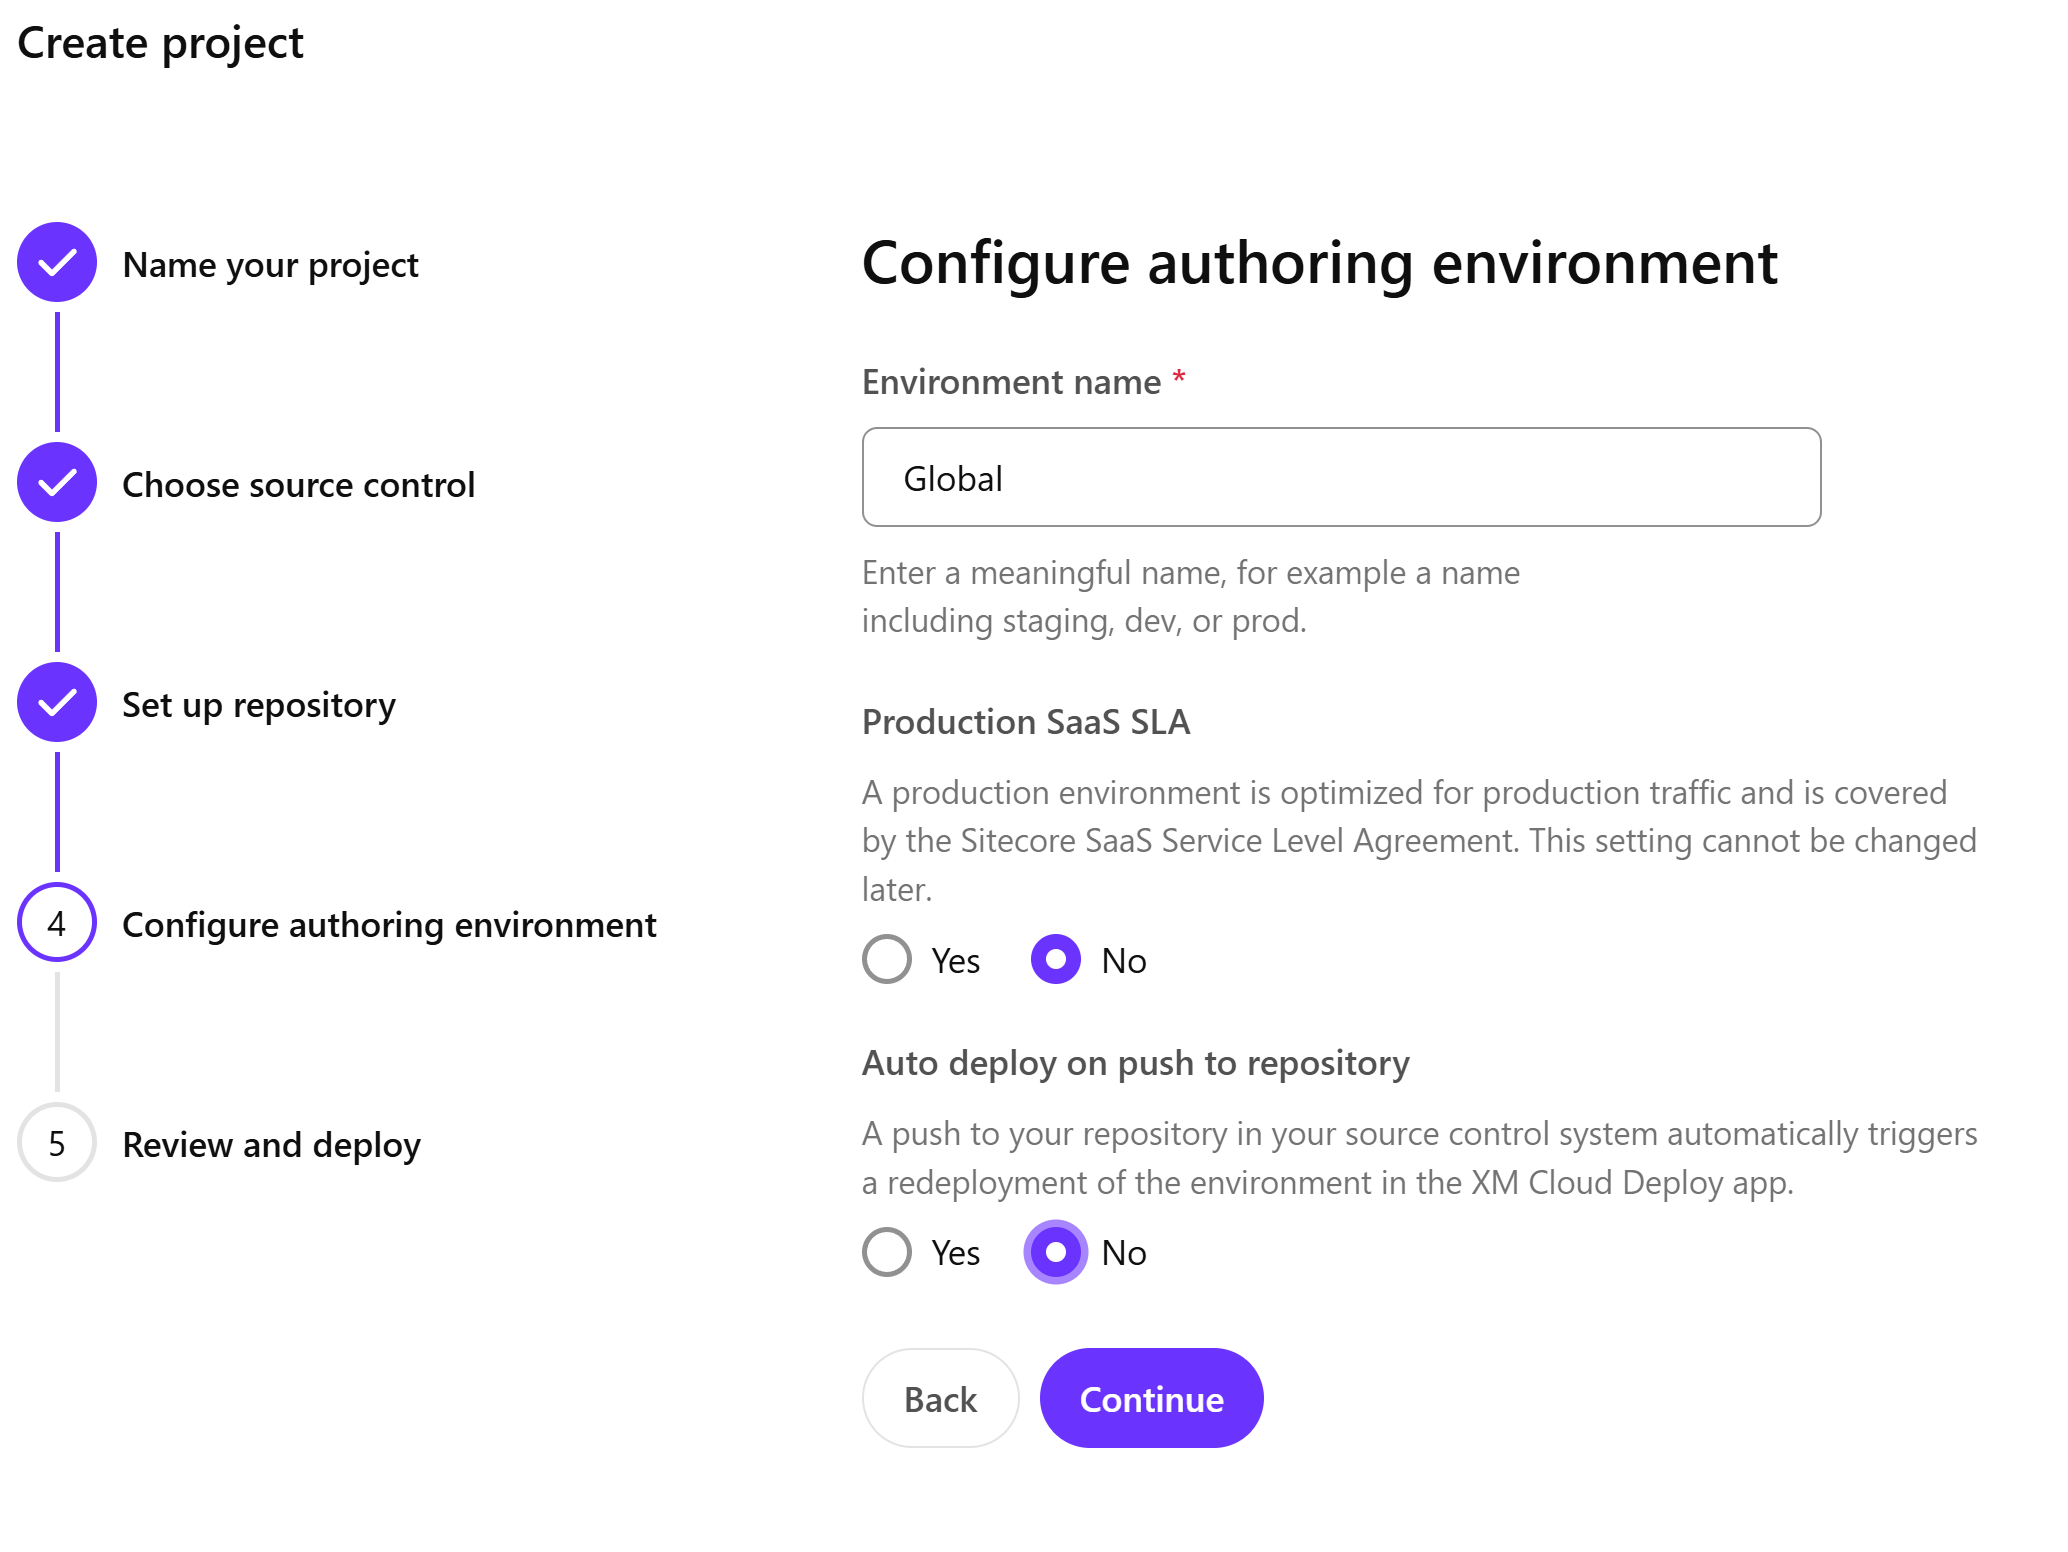
Configure the Authoring Environment.
Review and deploy the code.

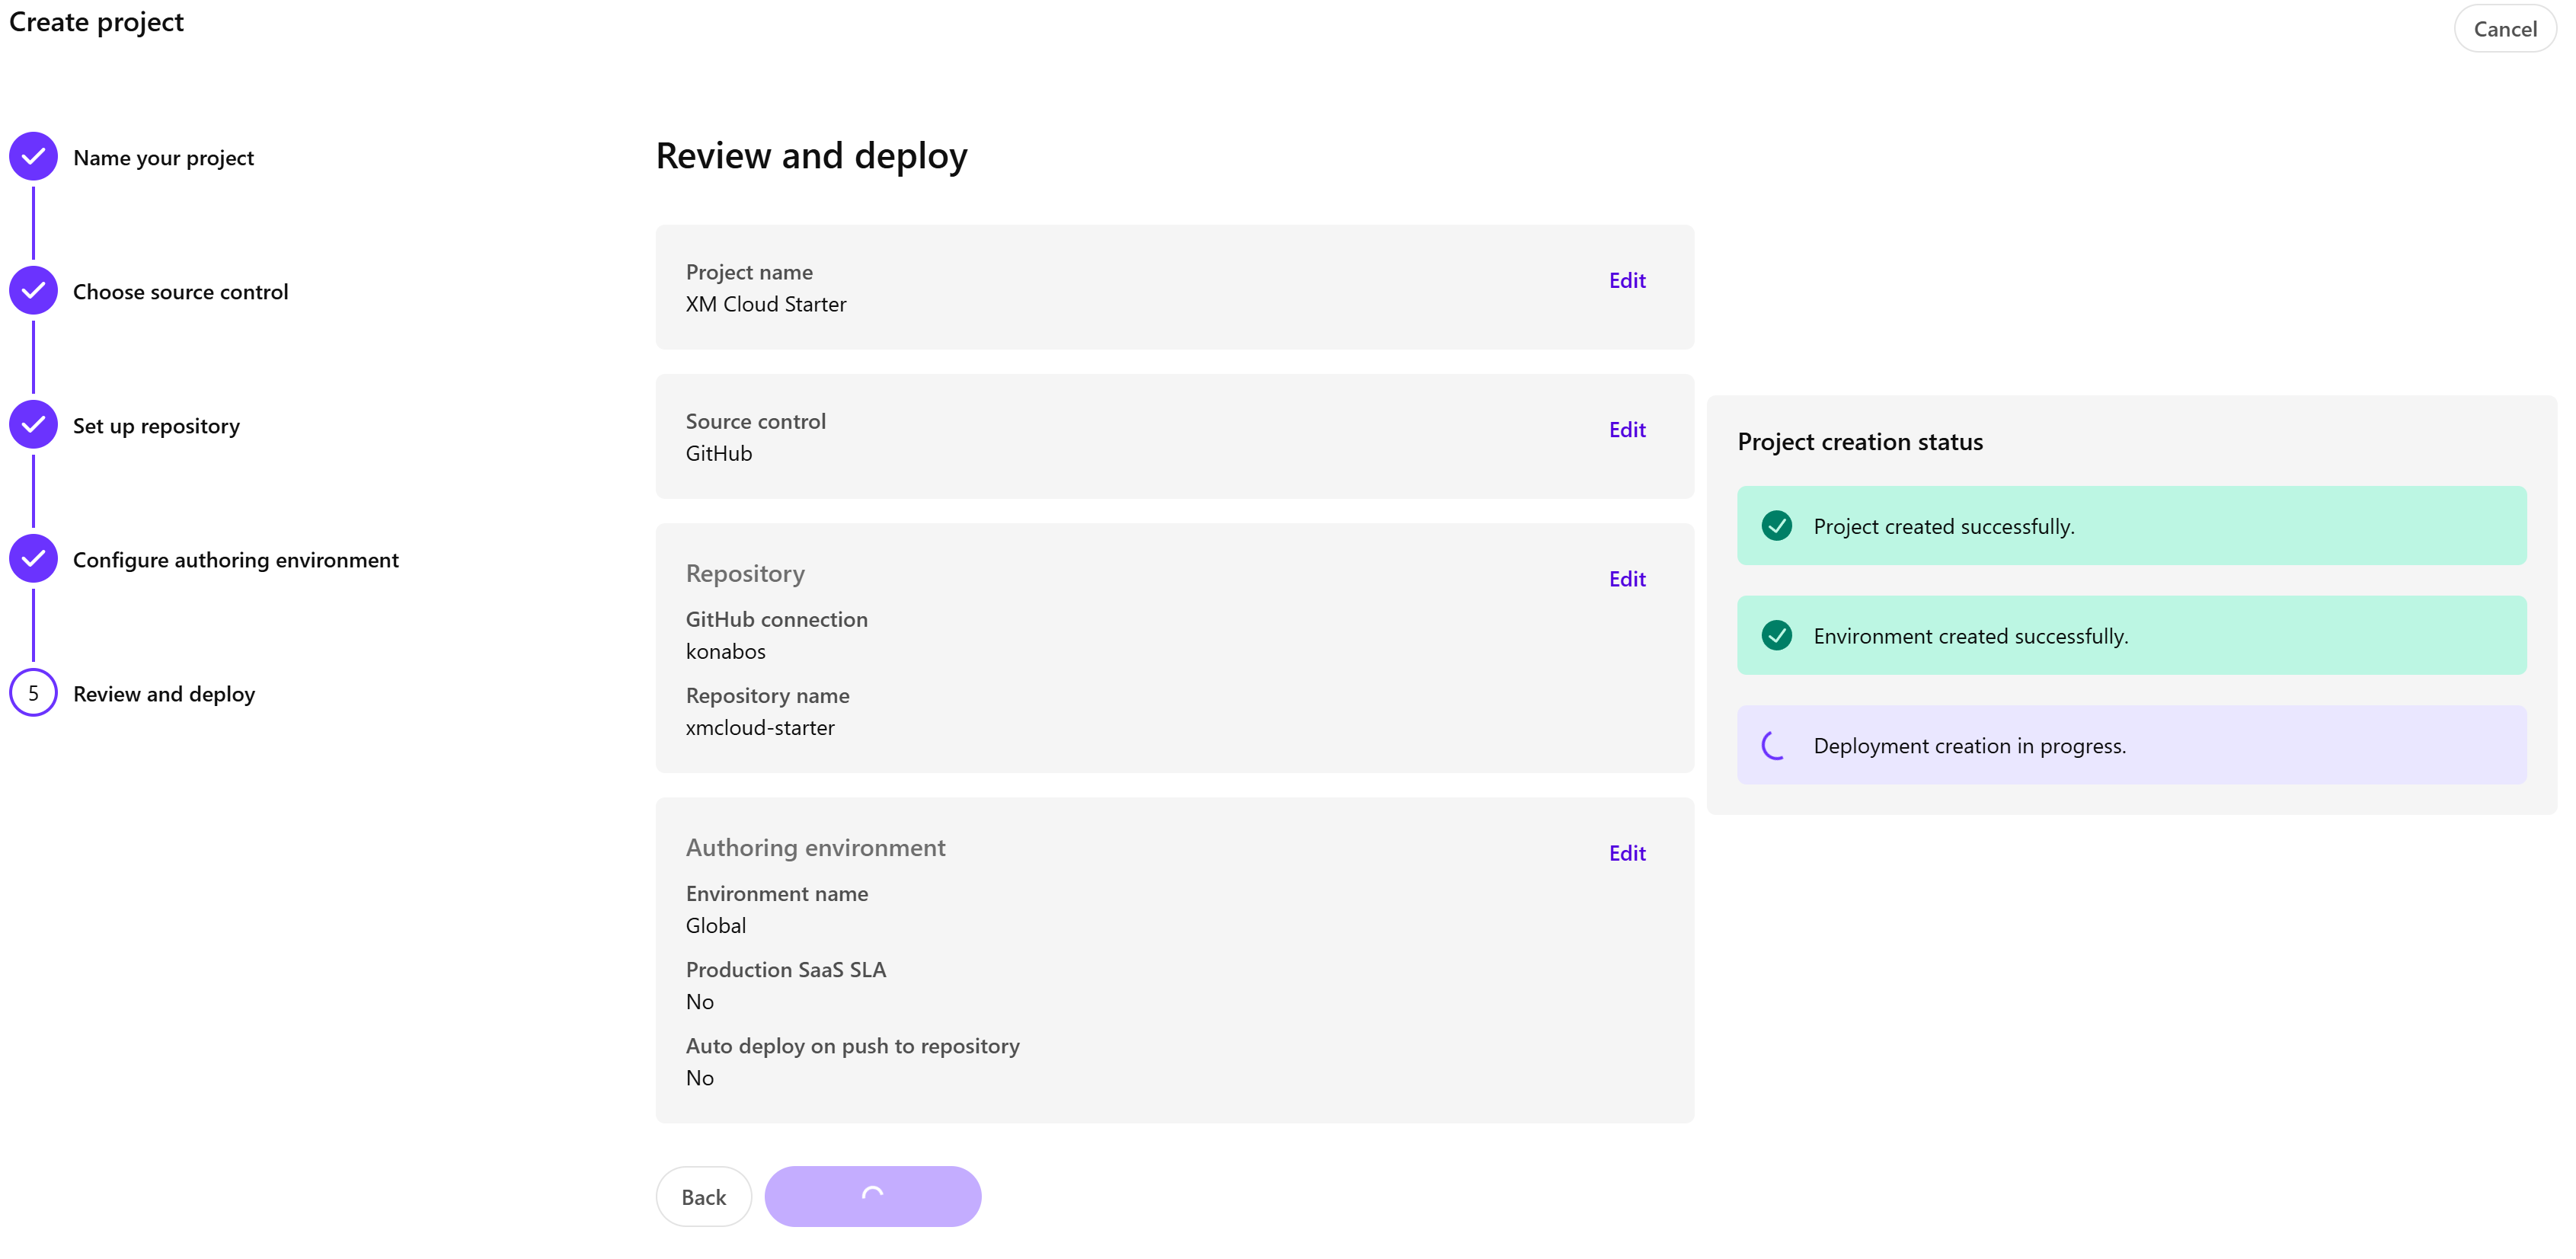
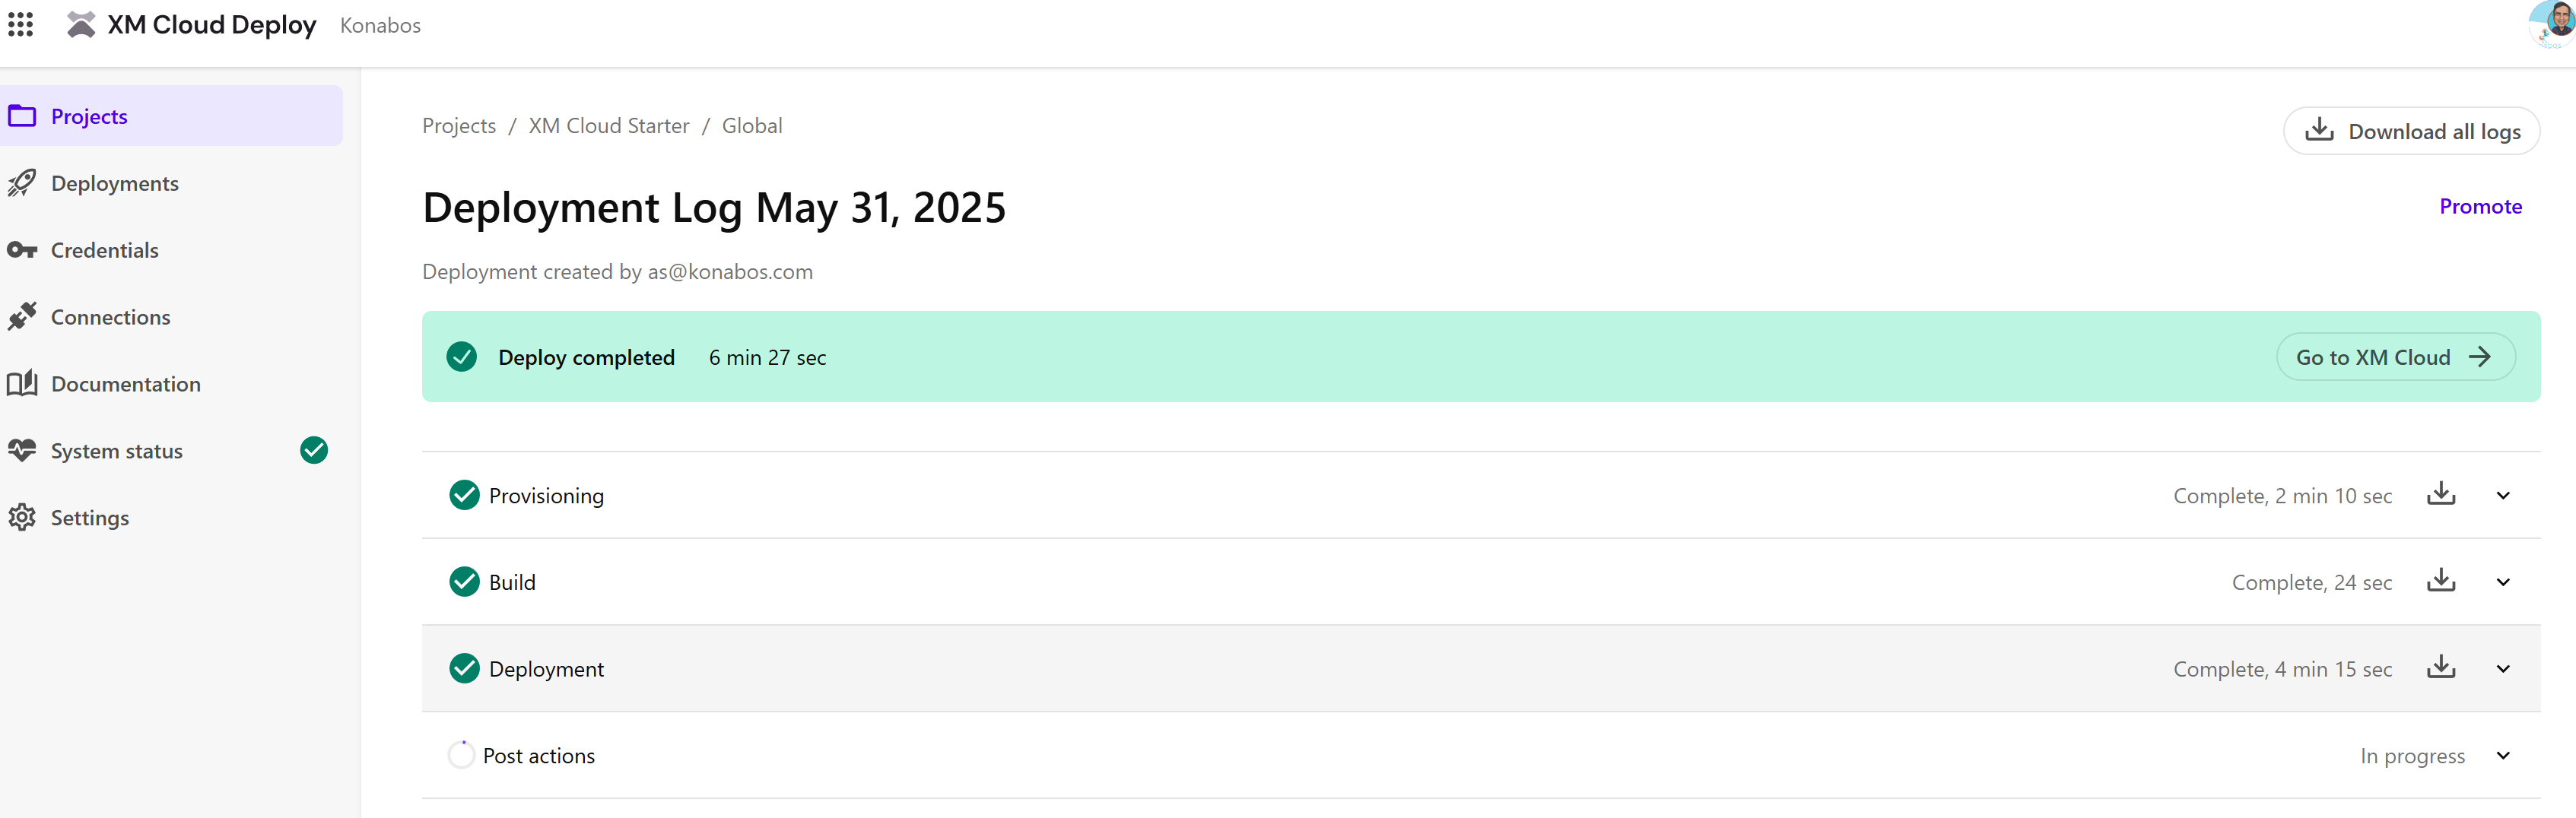
Once the deployment is done, click on the Go to XM Cloud button.
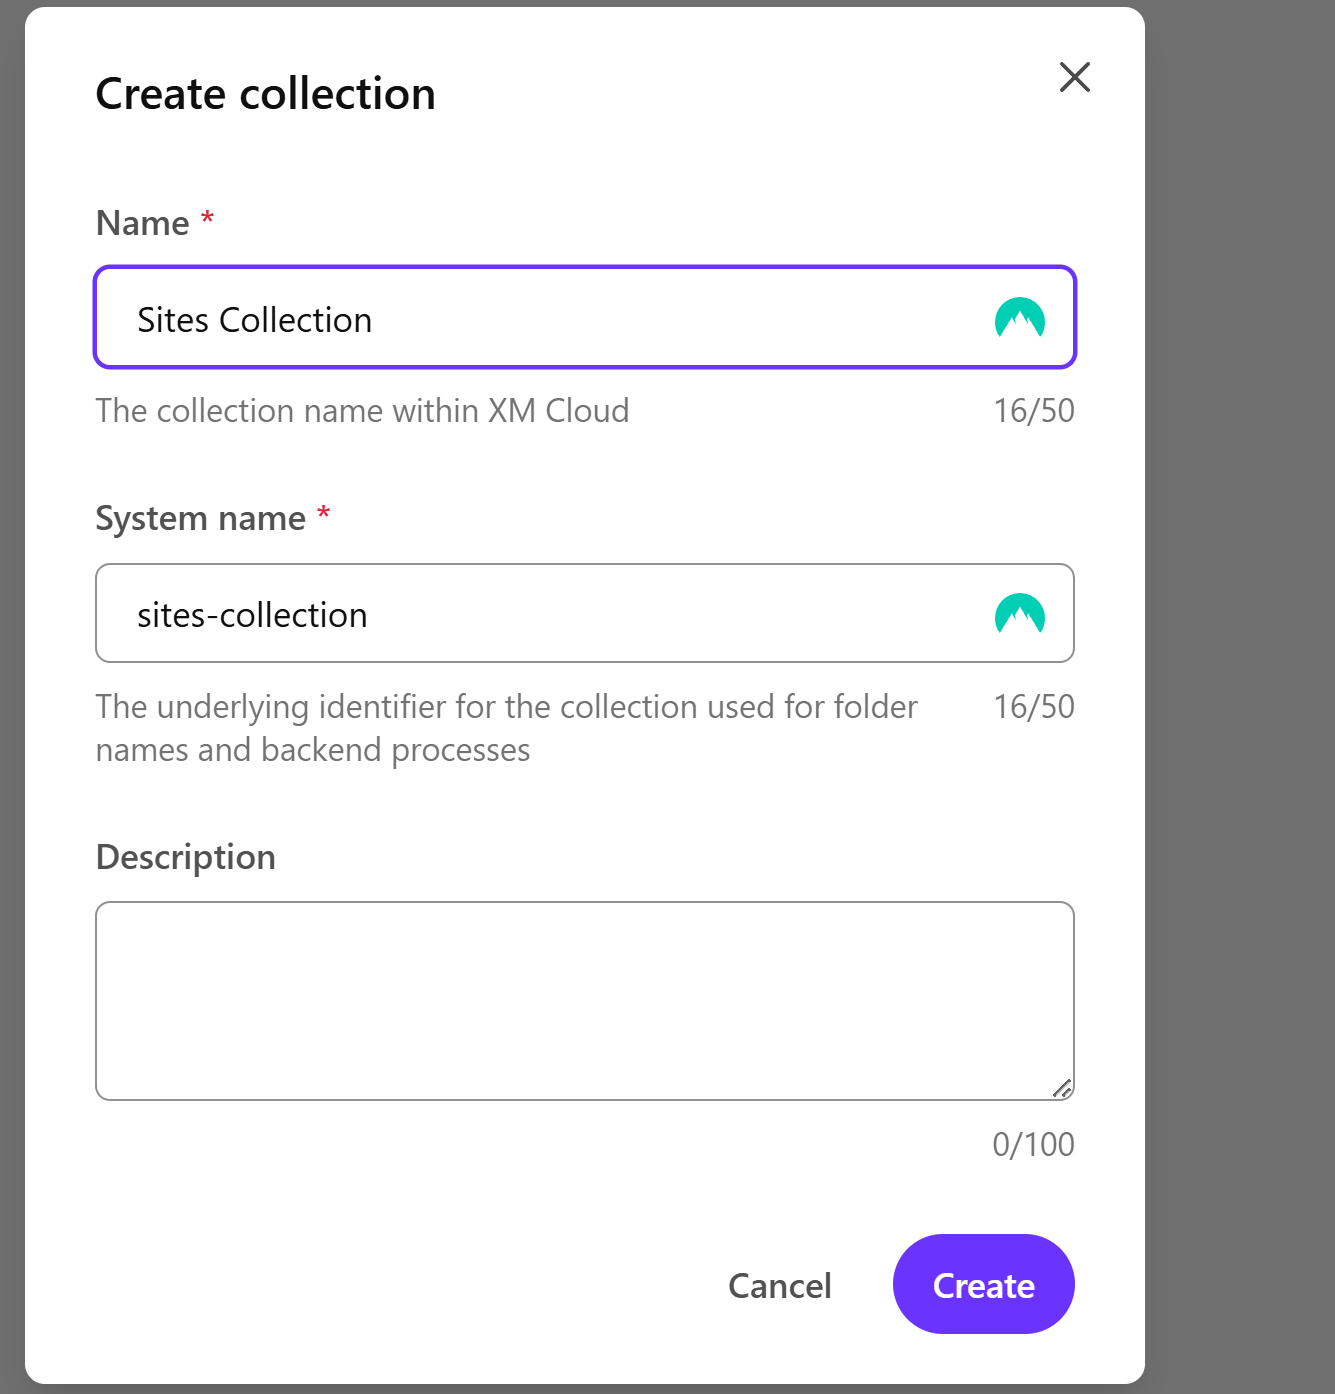
If you have not already, create a Collection.
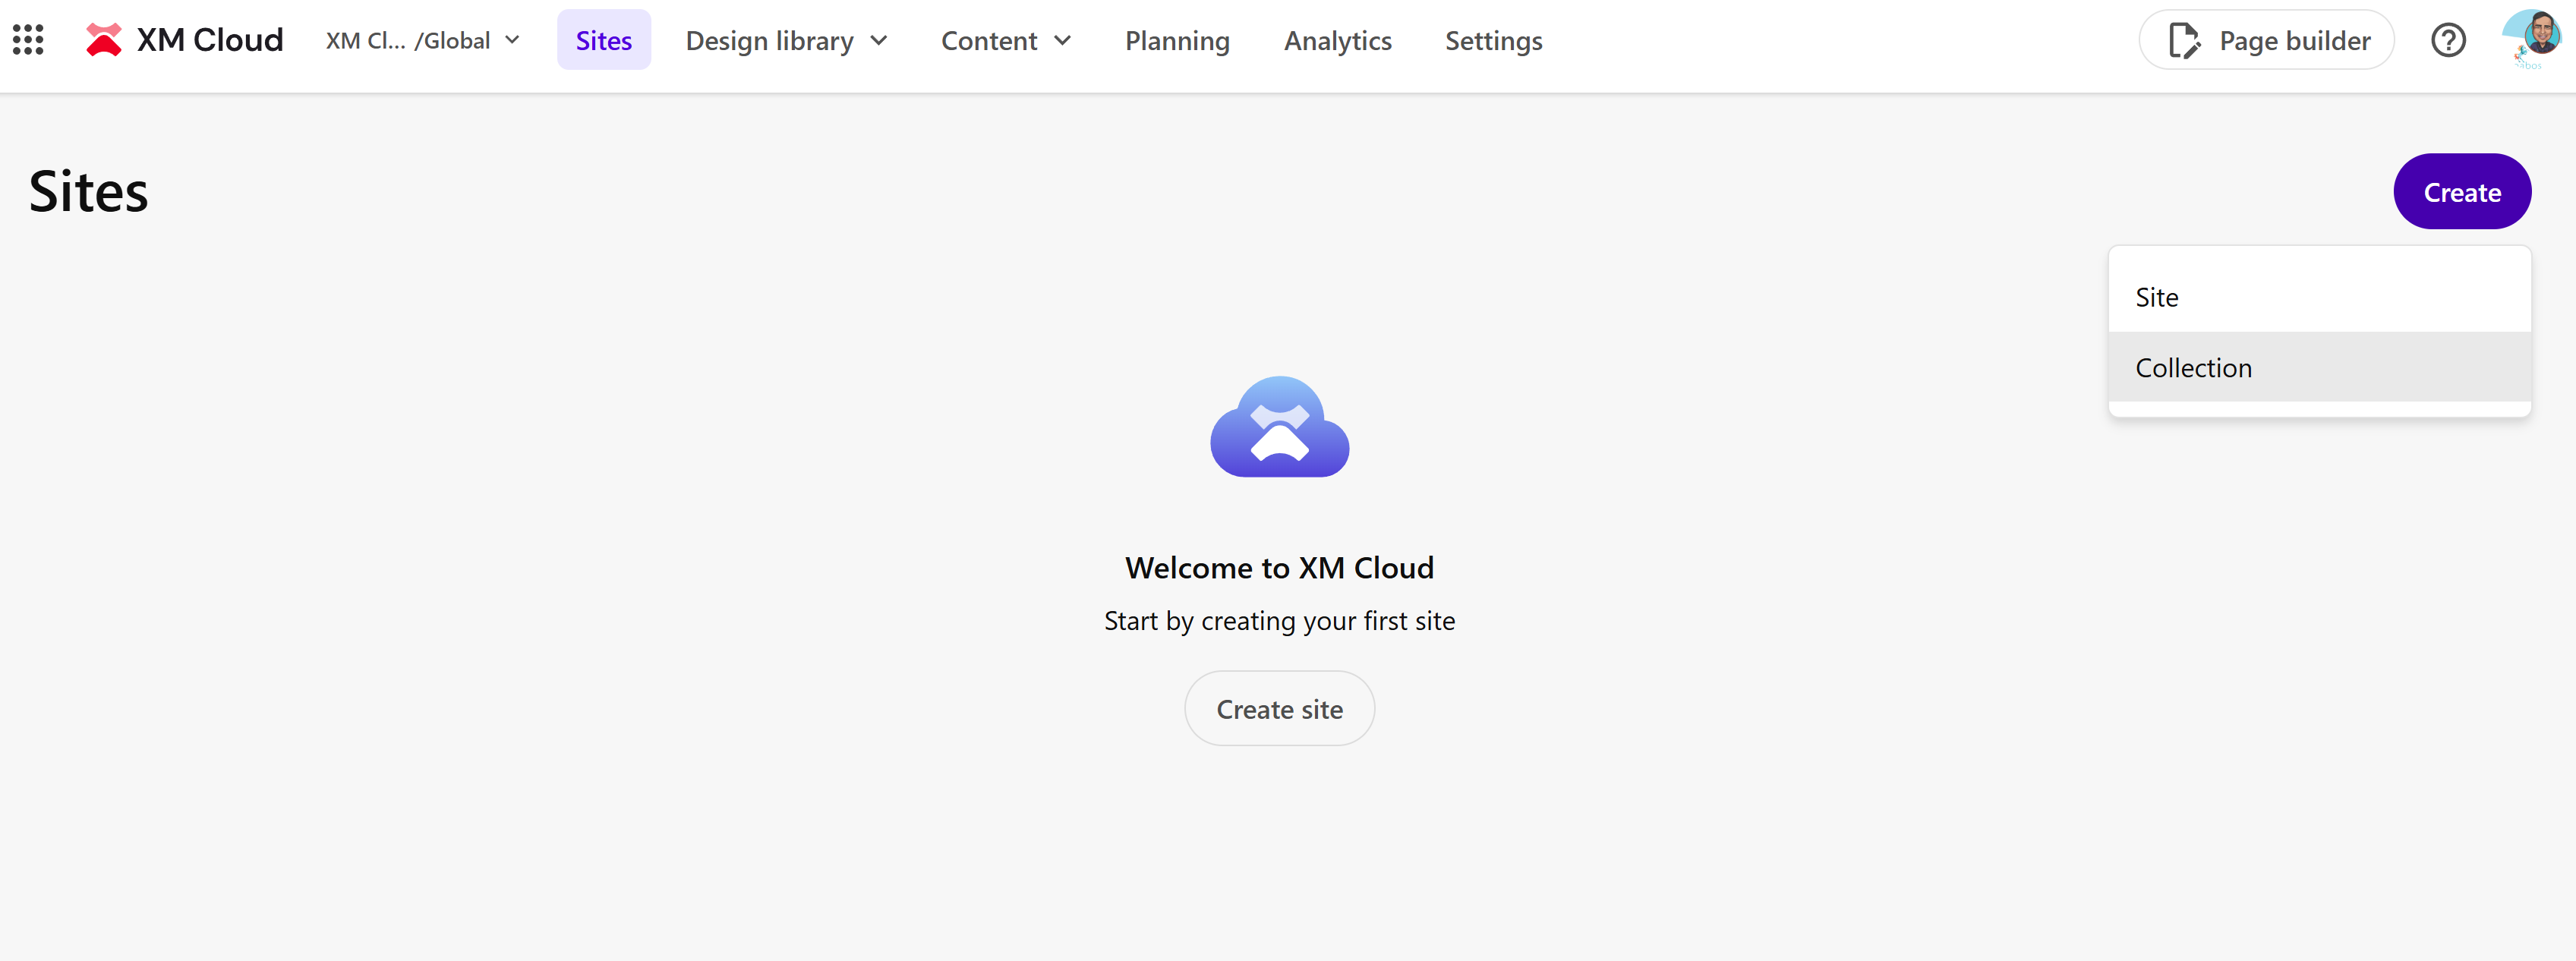
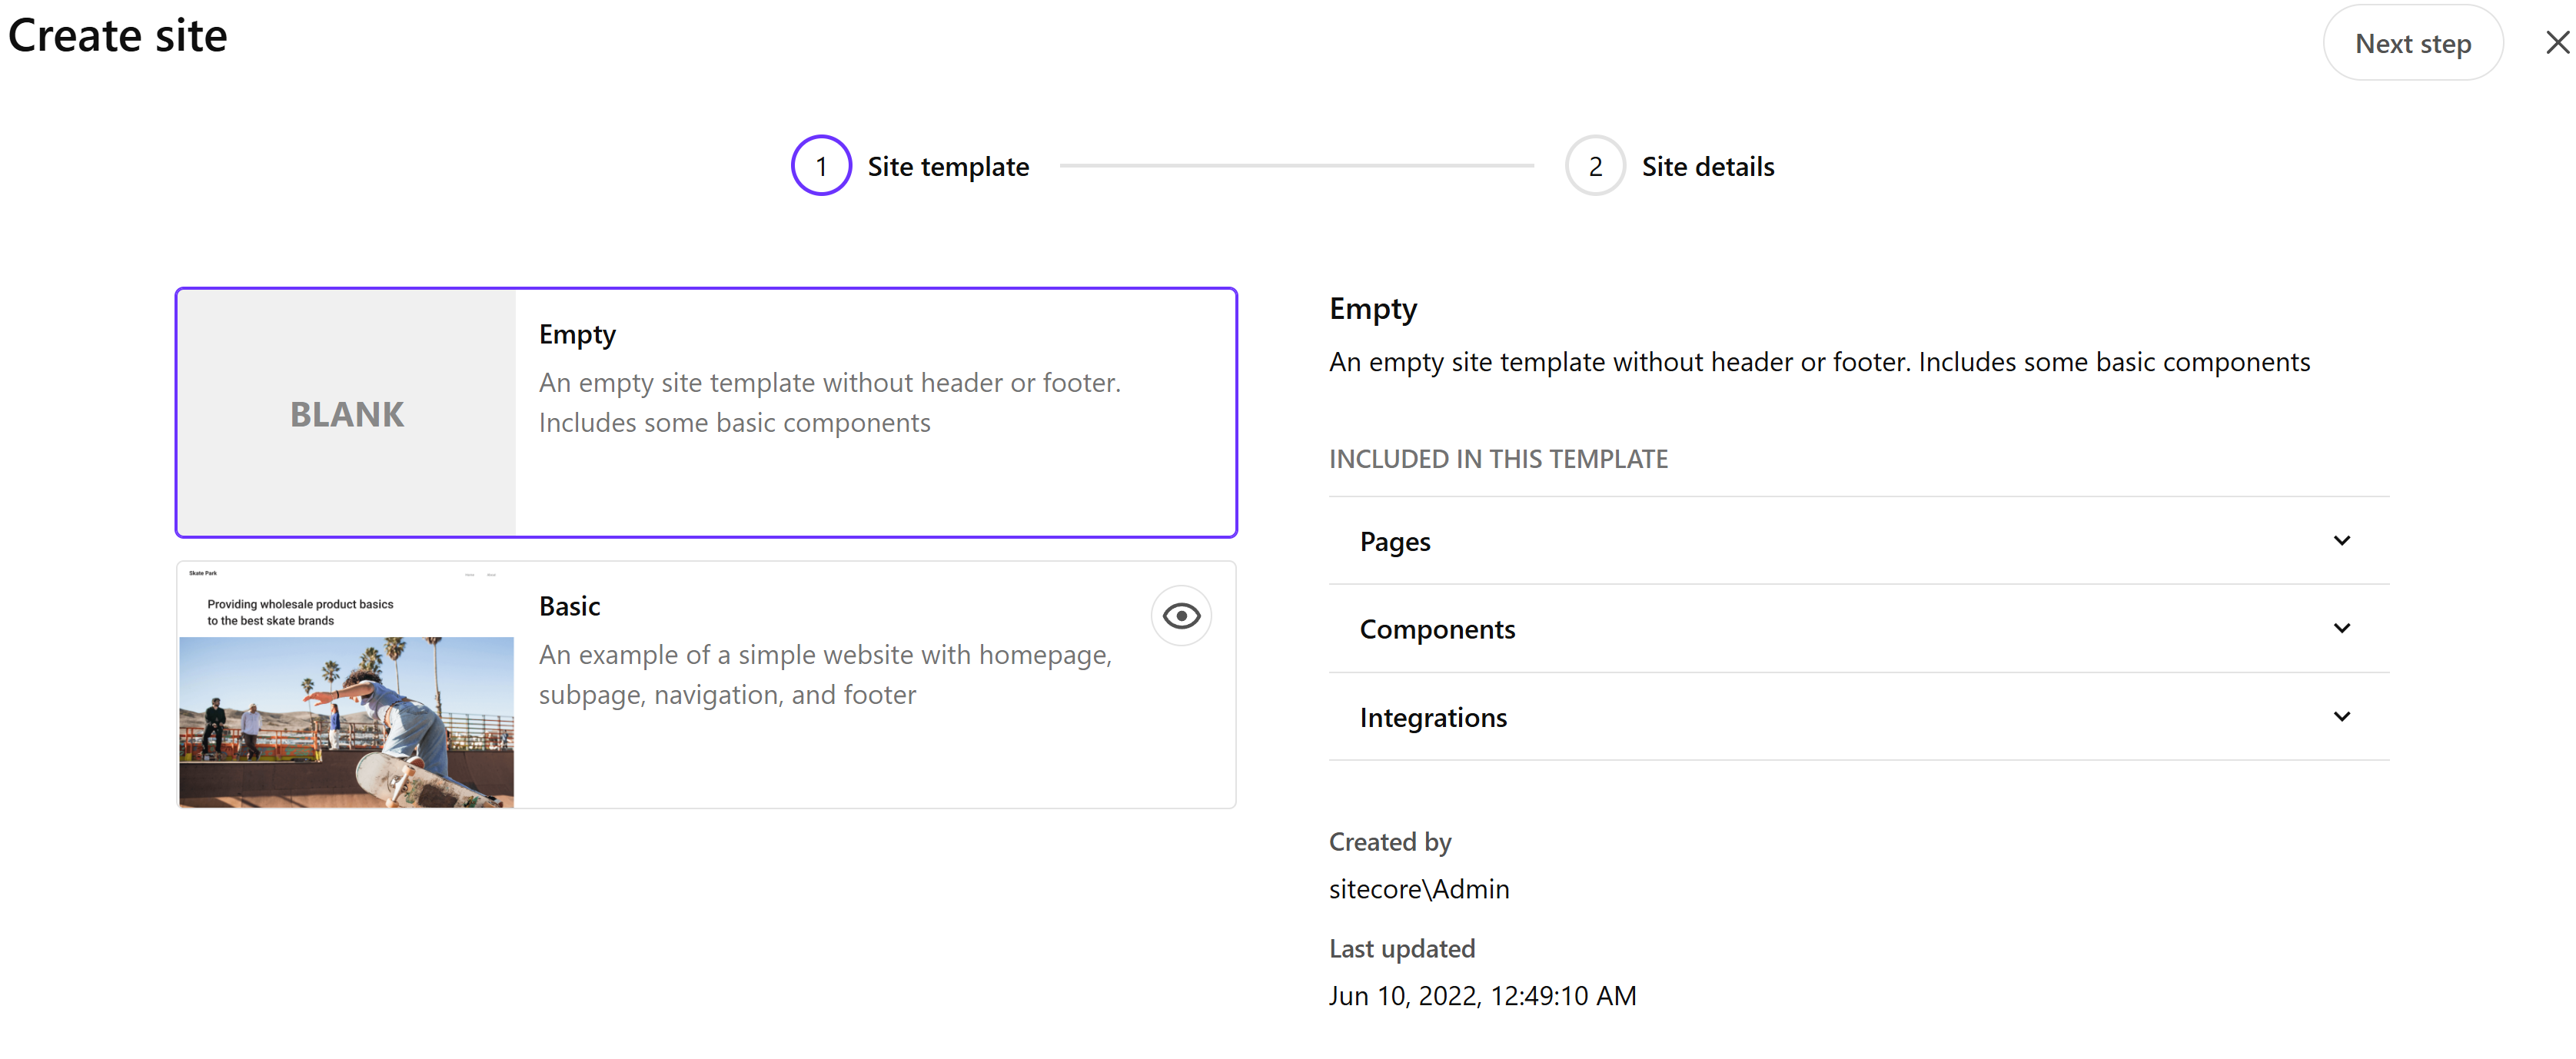
Create a site in a specific collection.
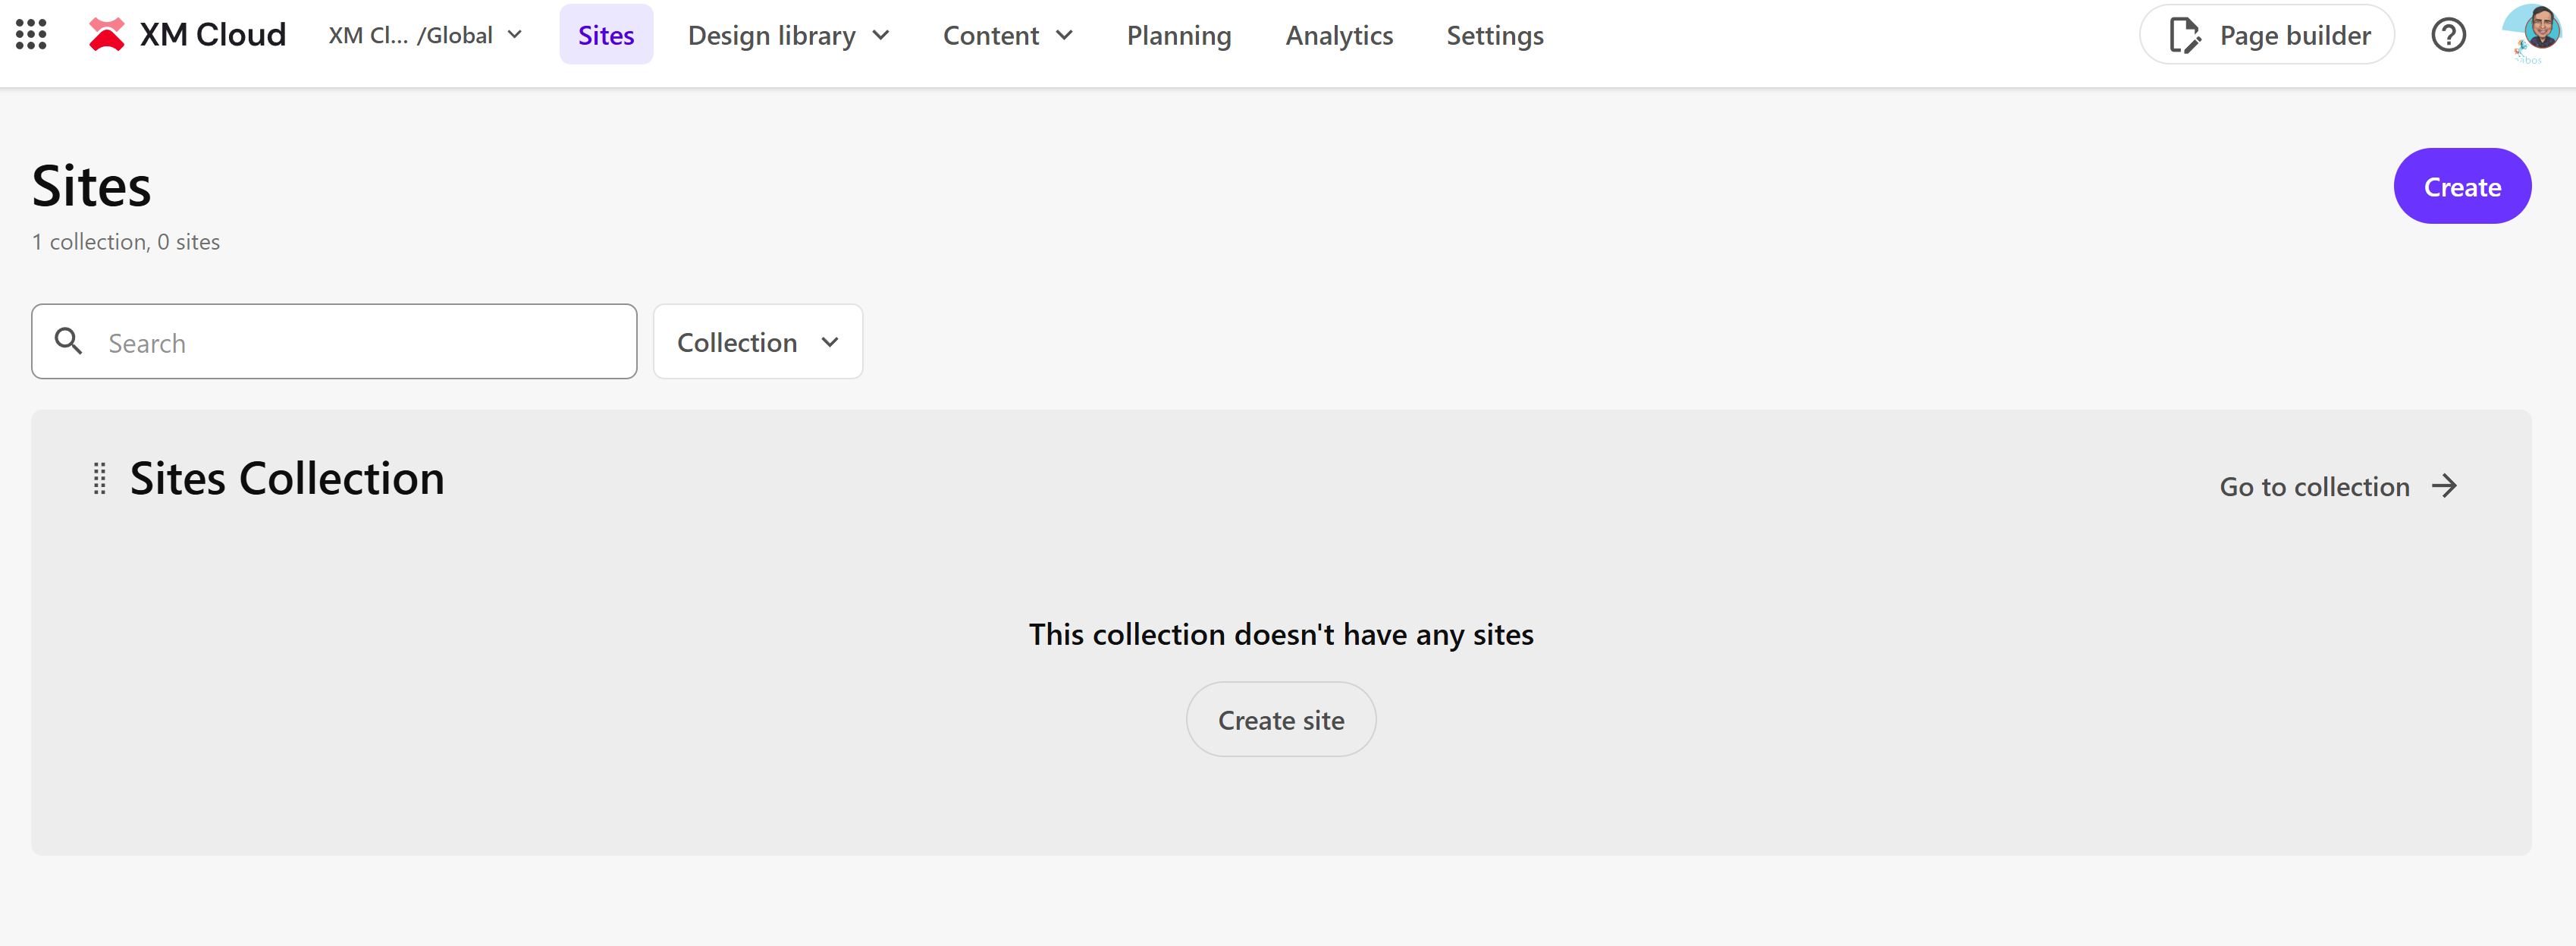
Select the Empty Site template Option.
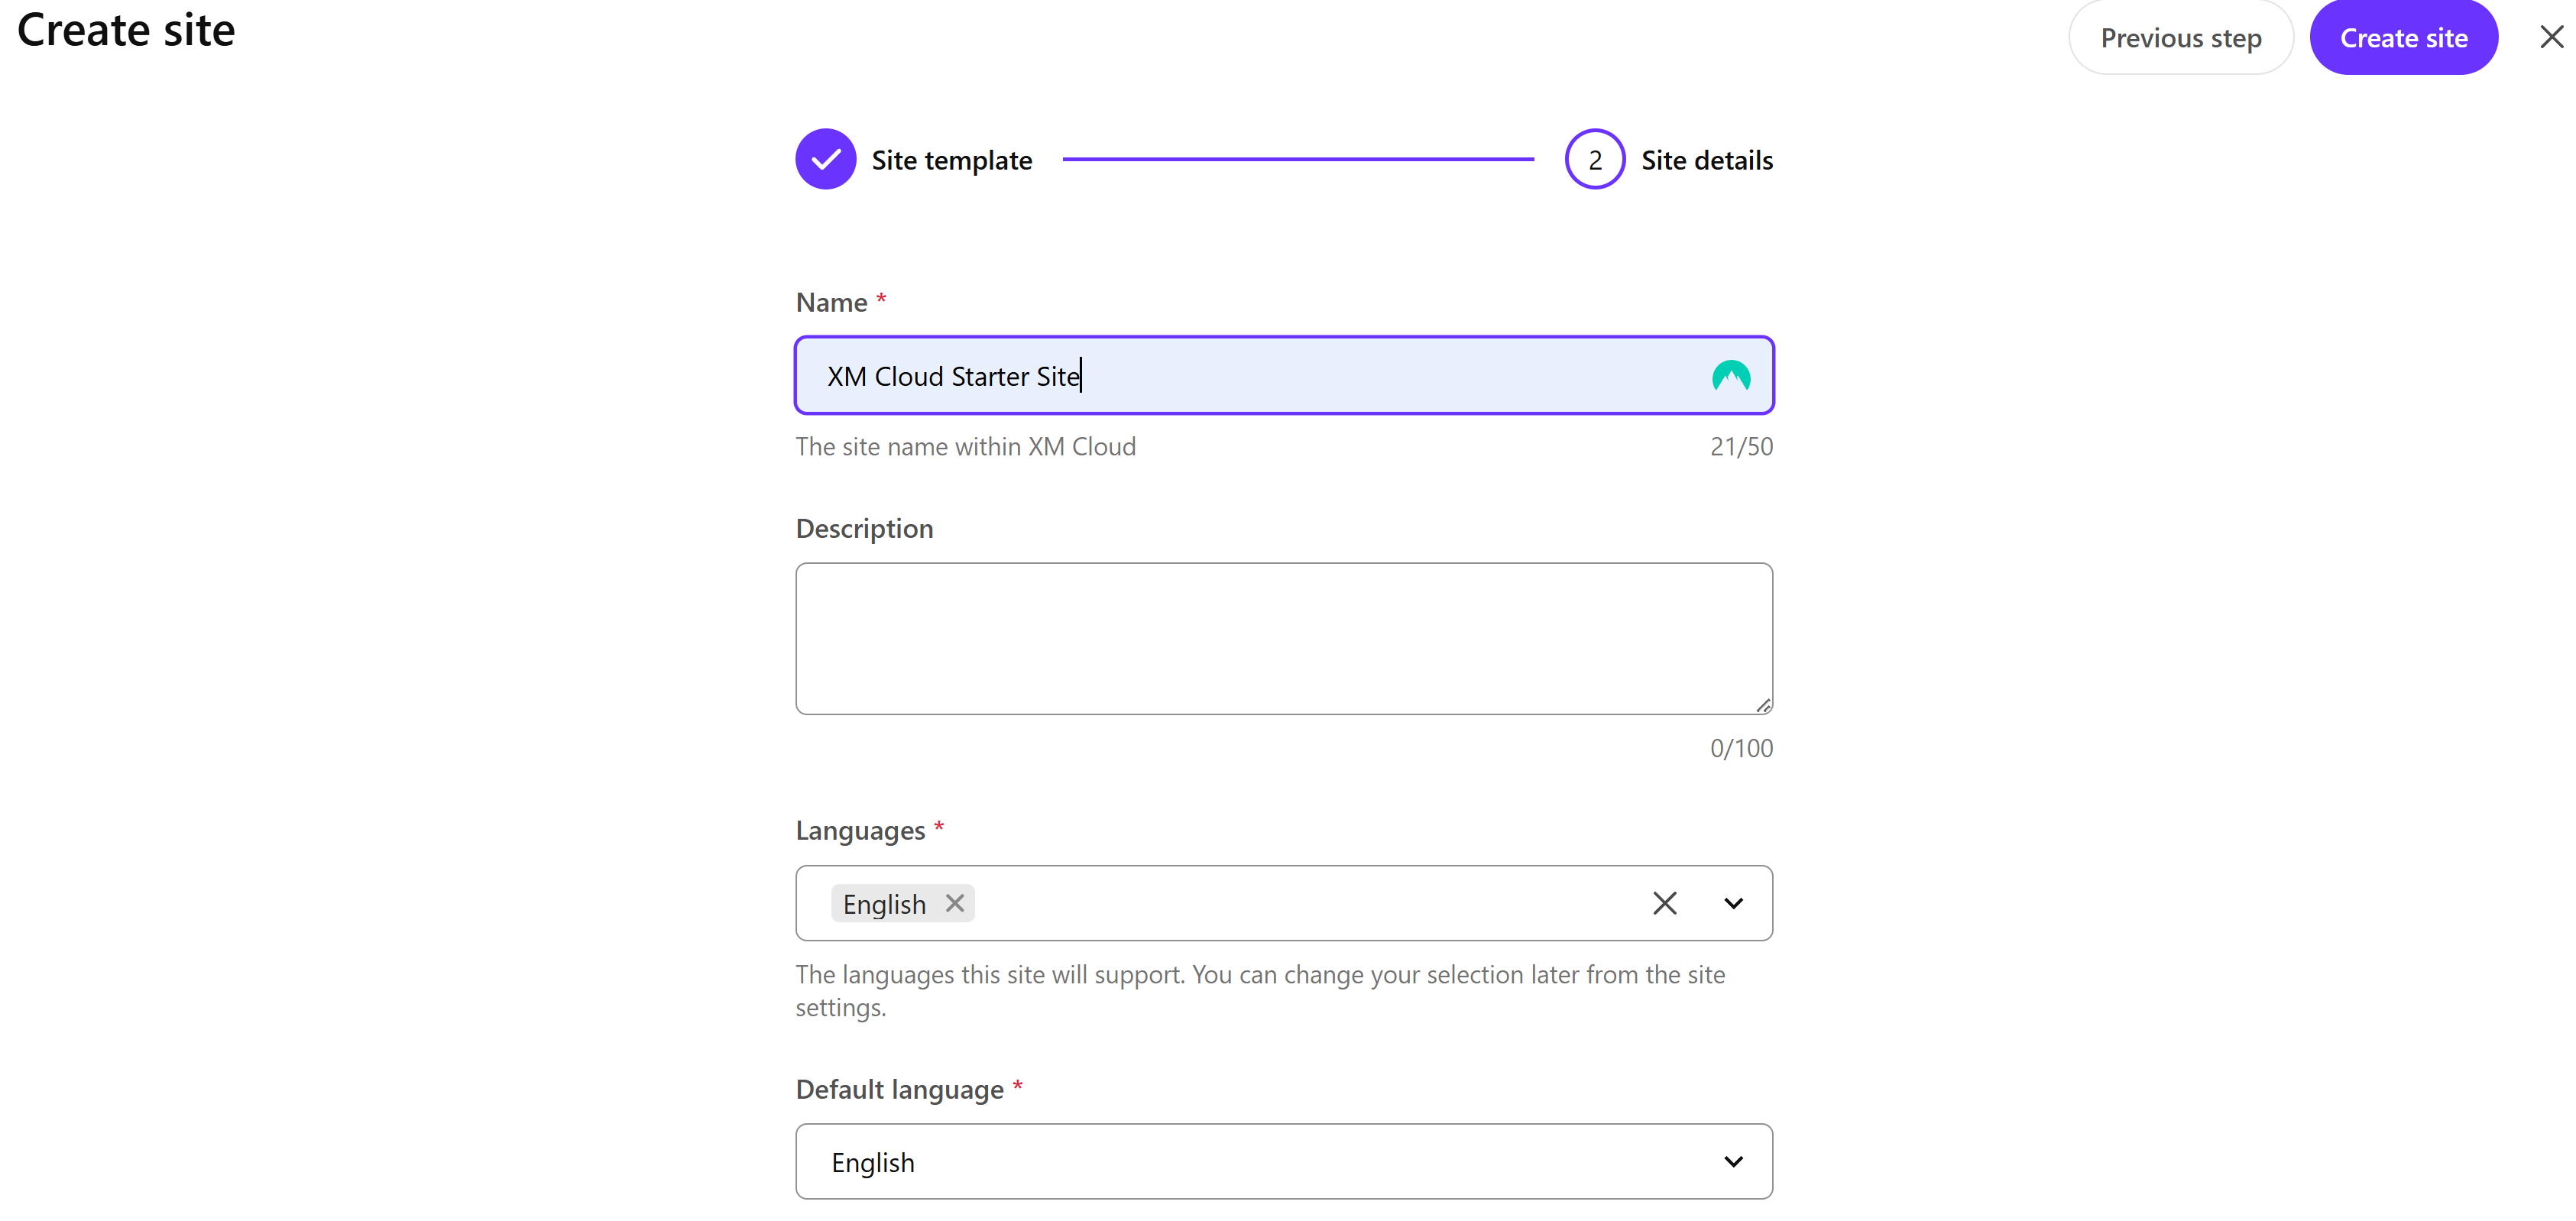
Add your site details. I gave it a name and left the rest as default.
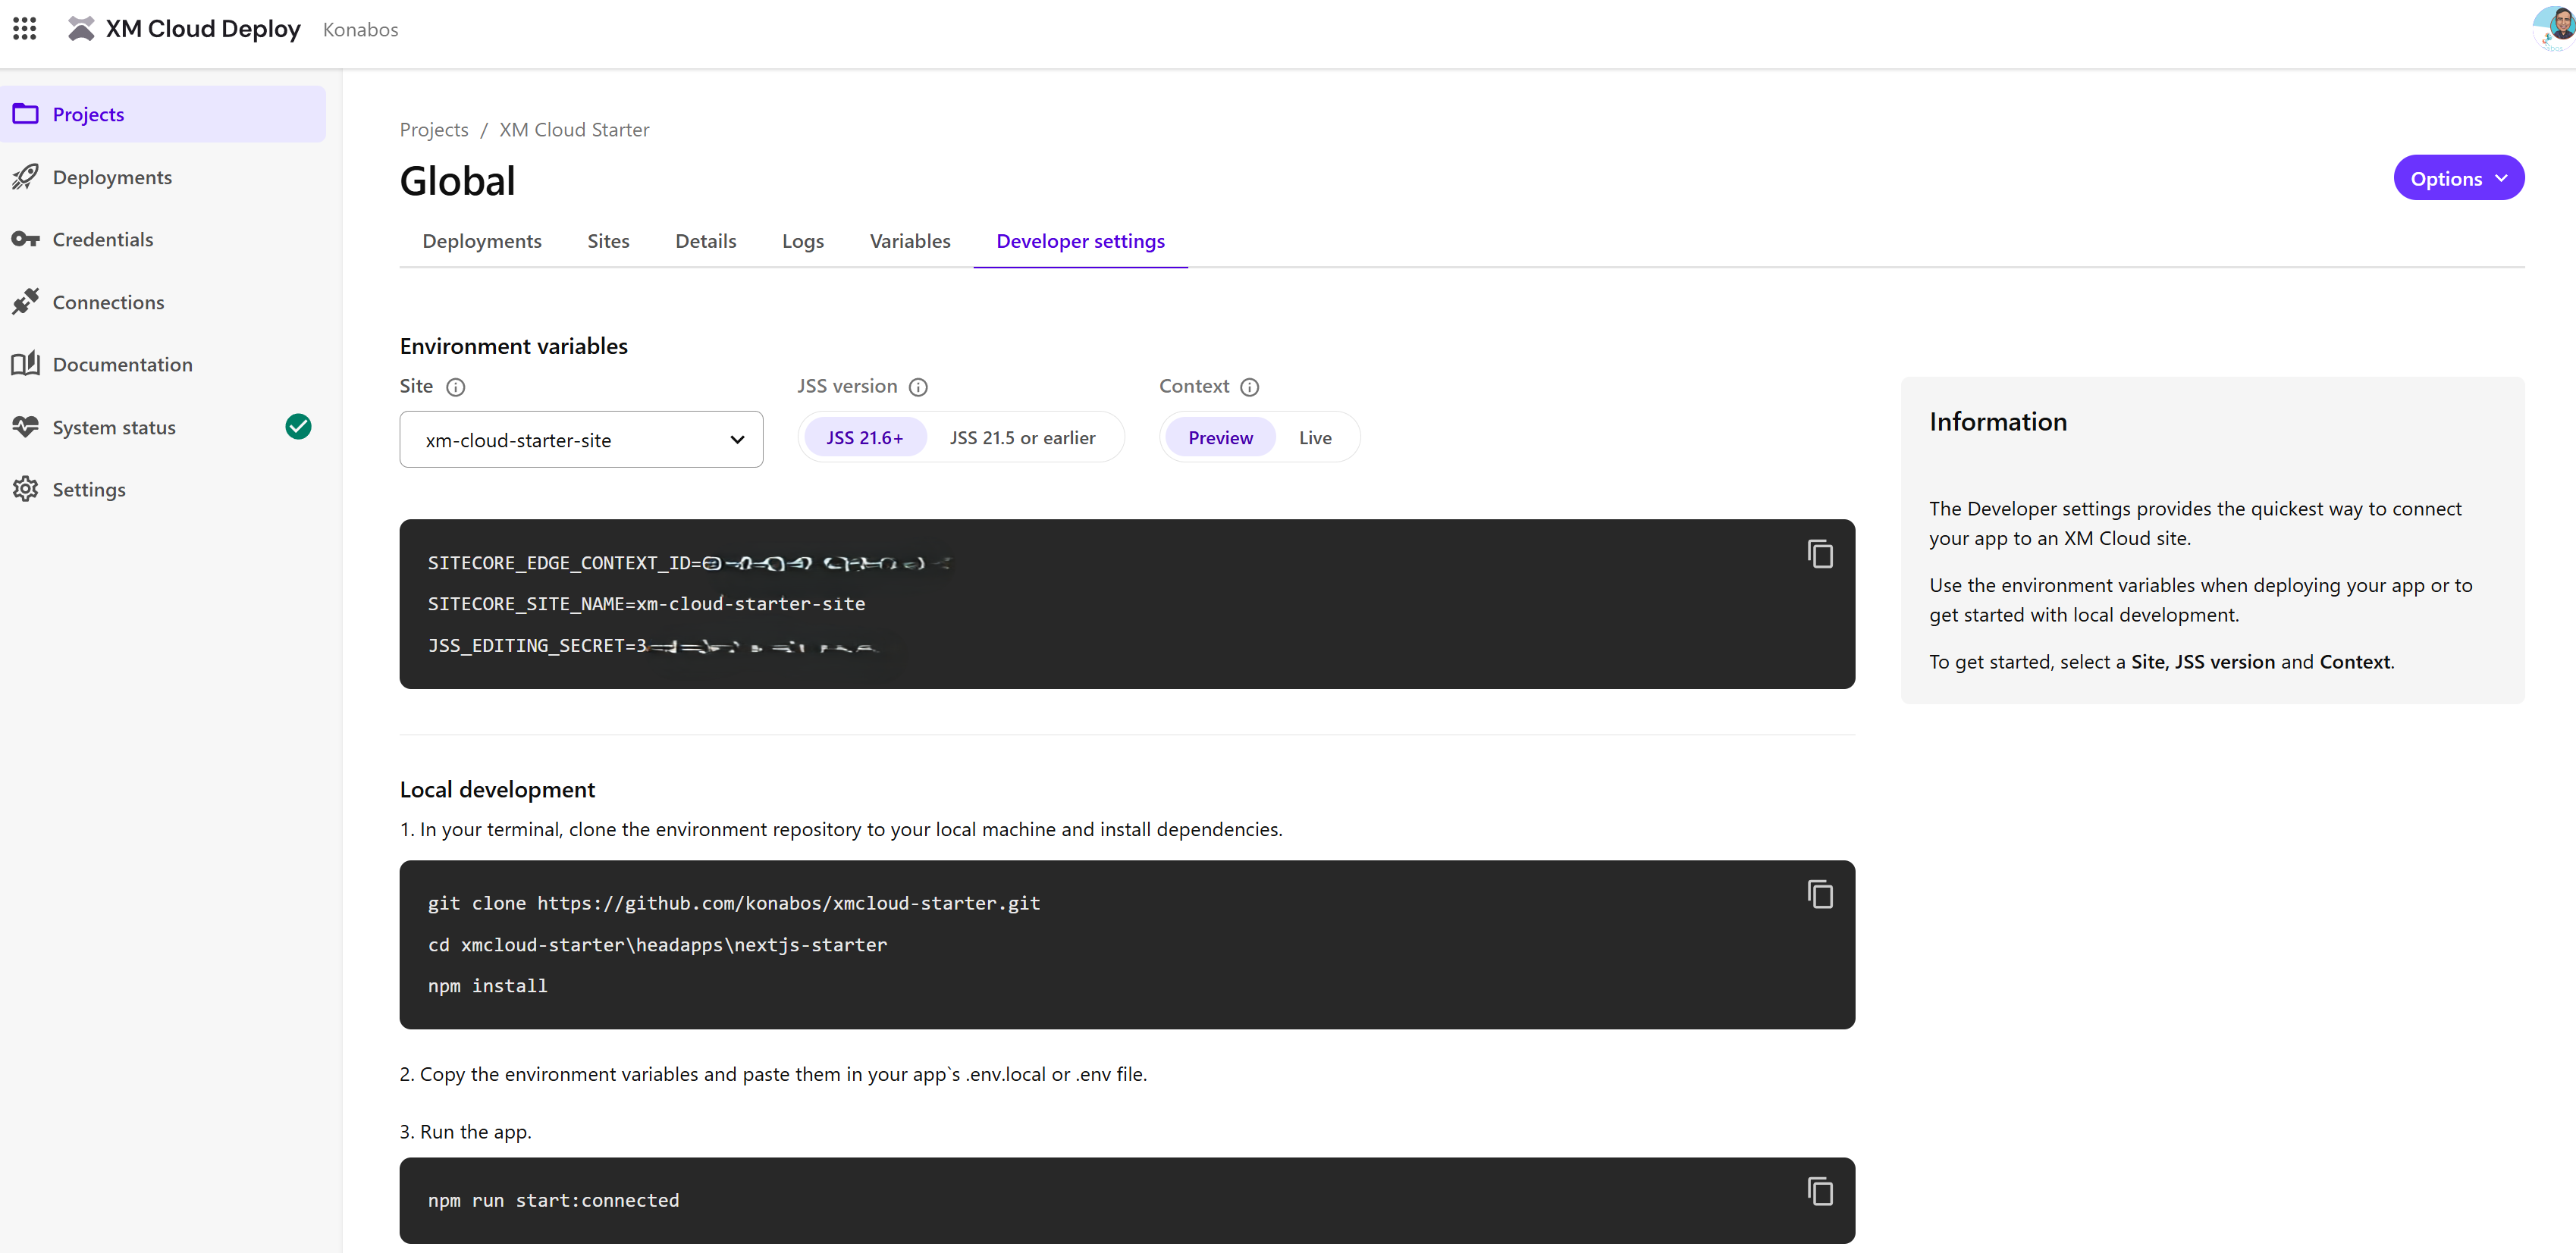
Go back to the XM Deploy to your project's environment settings. Click on the Development Tab.
Make sure the context is set to Preview and you take a note of the JSS_EDITING_SECRET, SITECORE_SITE_NAME and SITECORE_EDGE_CONTEXT_ID. I blurred out the values on the screenshot.
Clone the repository to your local machine and open the solution from ./headapps/aspnet-core-starter.sln in your Visual Studio.
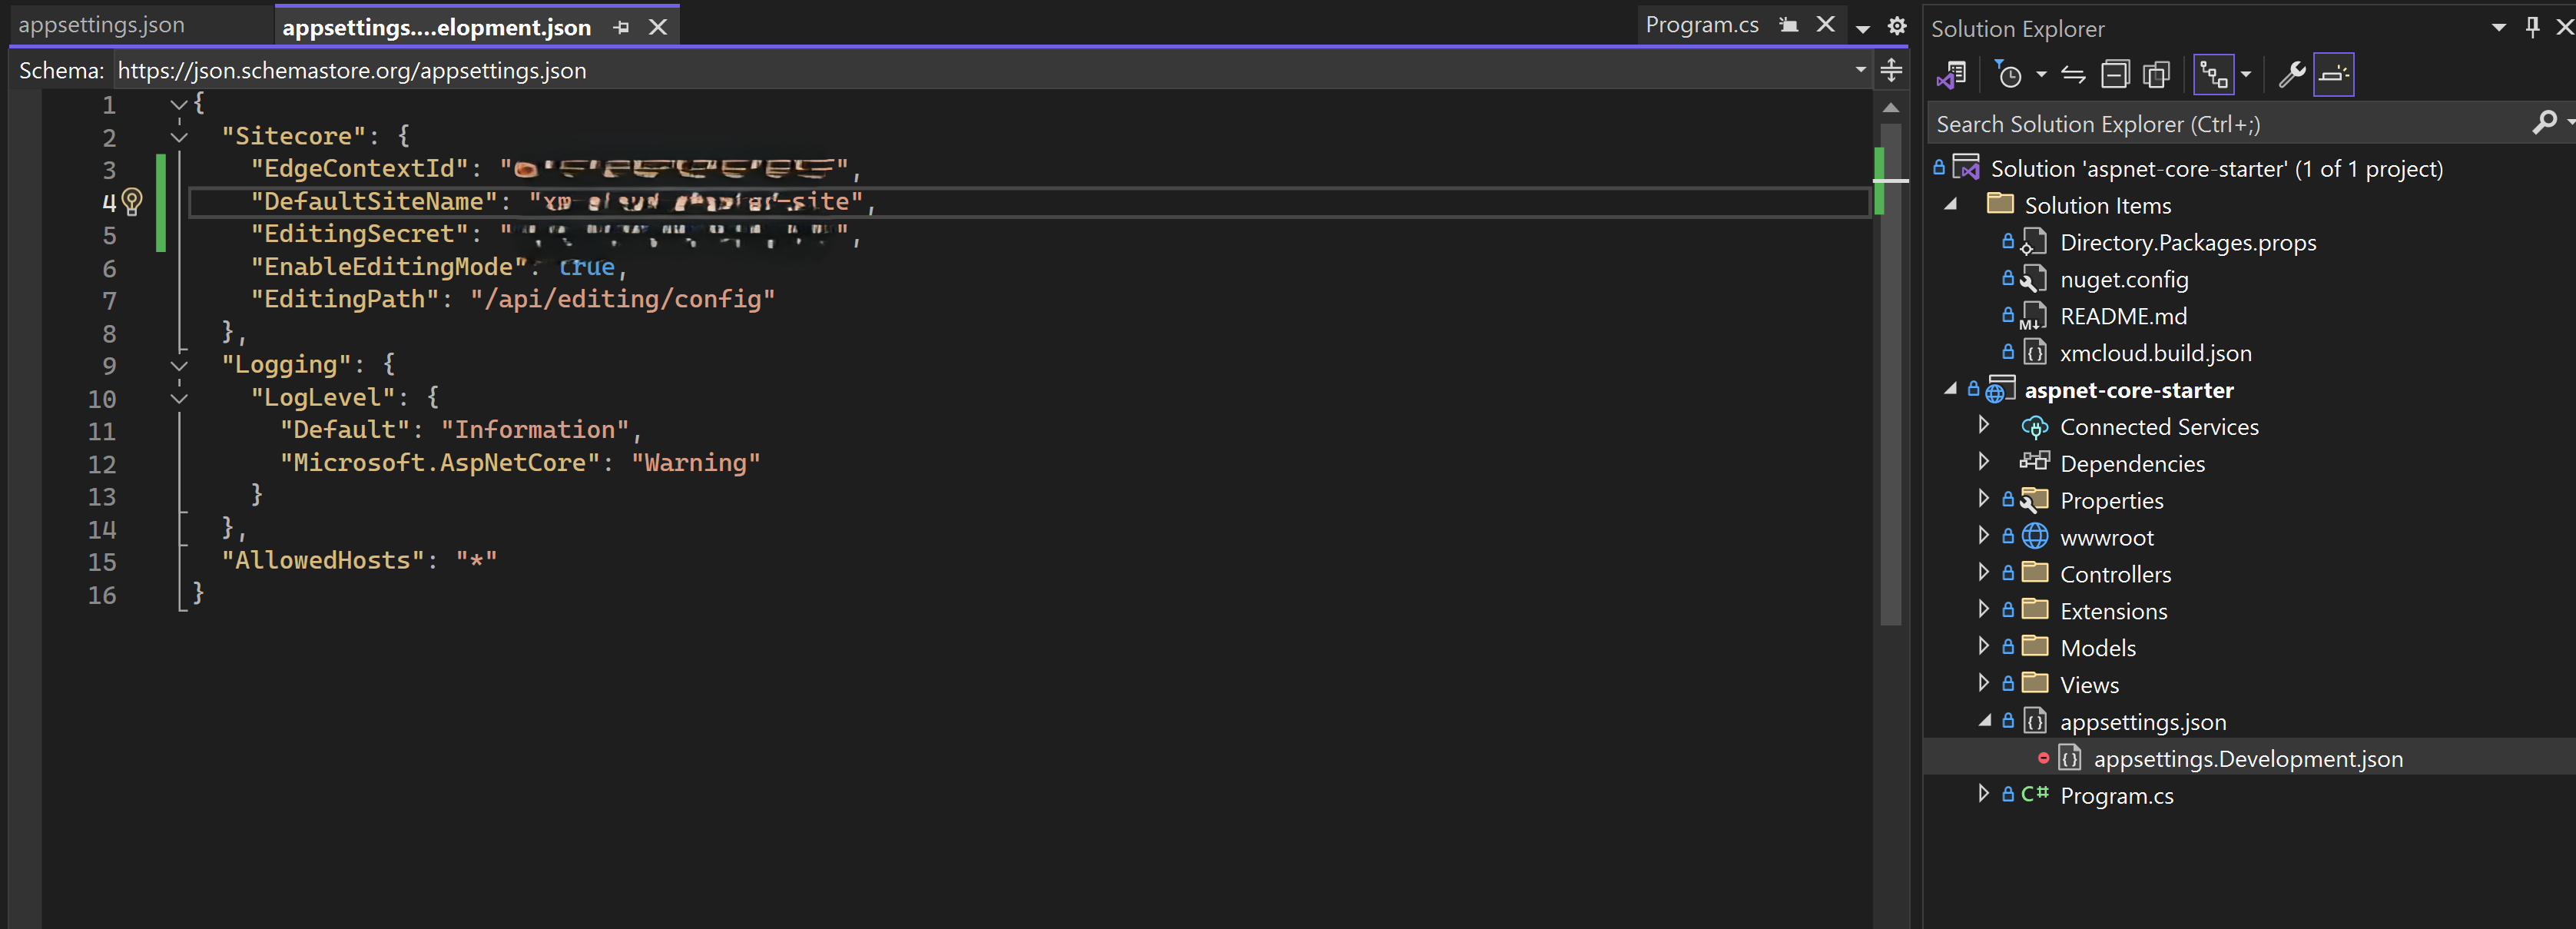
Make a copy the appsettings.json file, and name it appsettings.Development.json. This is so that we can exclude this development file in the source control settings so that we do not check it in by mistake.
Use the values we got from the deploy app in the appsettings.Development.json file.
Run the application in Visual Studio by hitting F5. This will open an empty white page in your browser pointing to the url https://localhost:5001/.
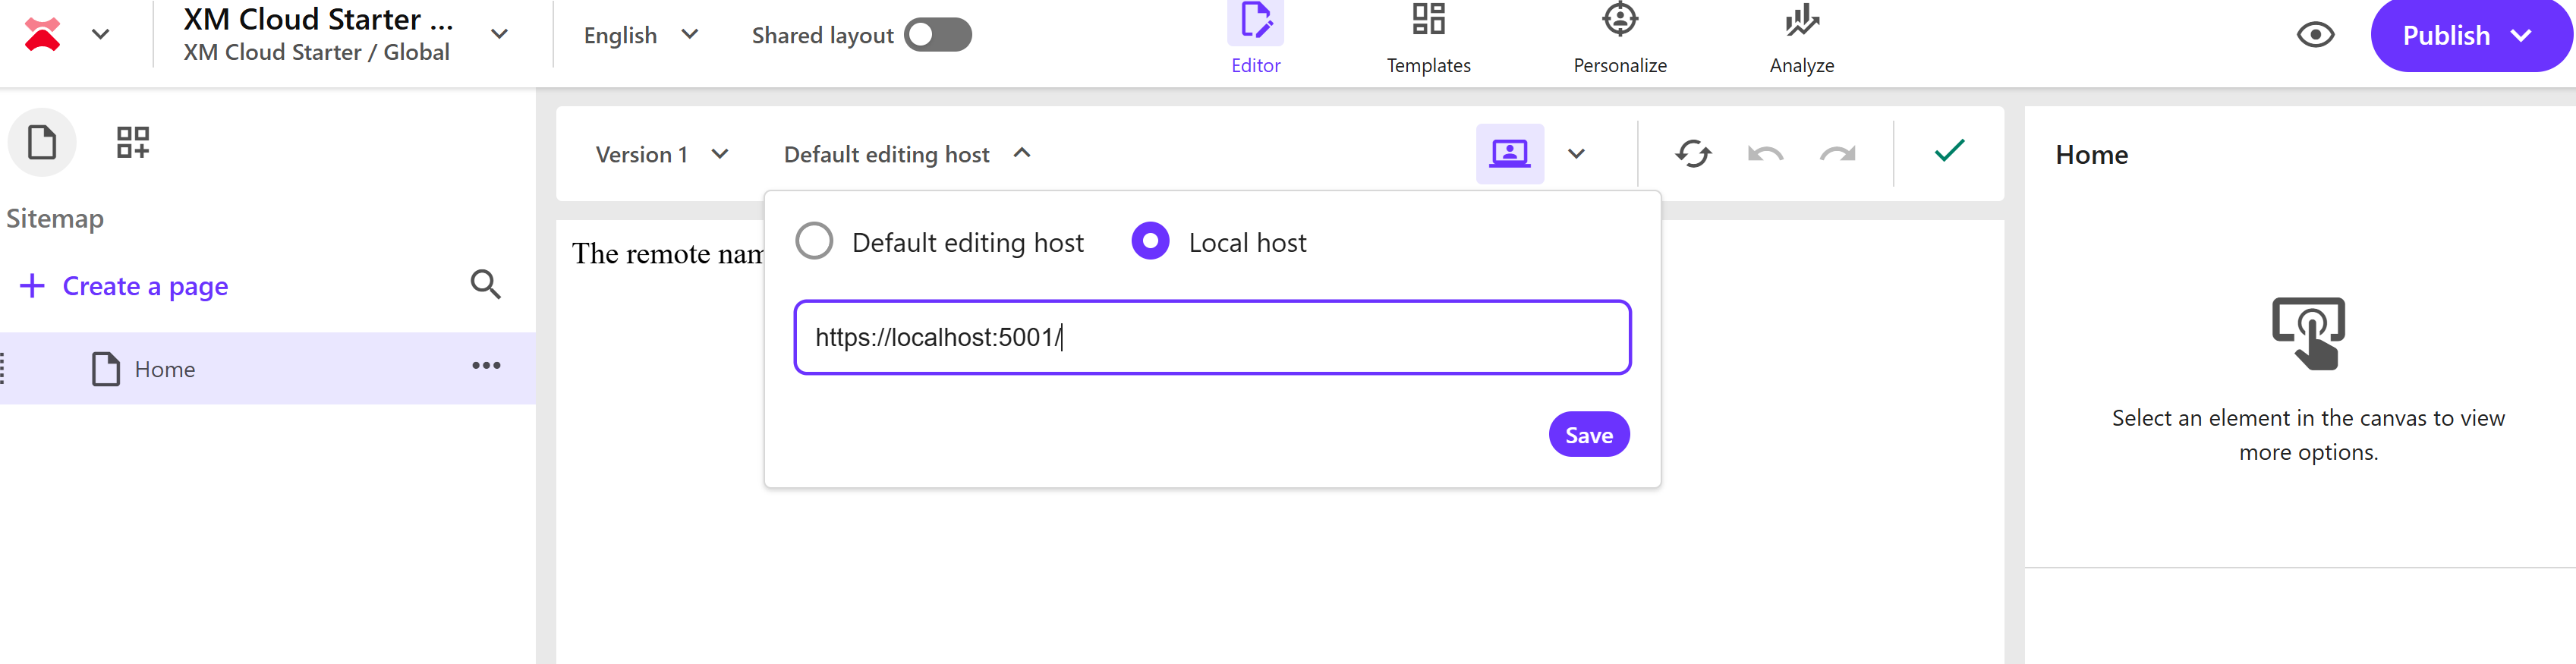
Now its time to connect this to the Pages Editor. Open the Pages application from your XM Cloud portal. Select Localhost as the editing host and enter your localhost url.
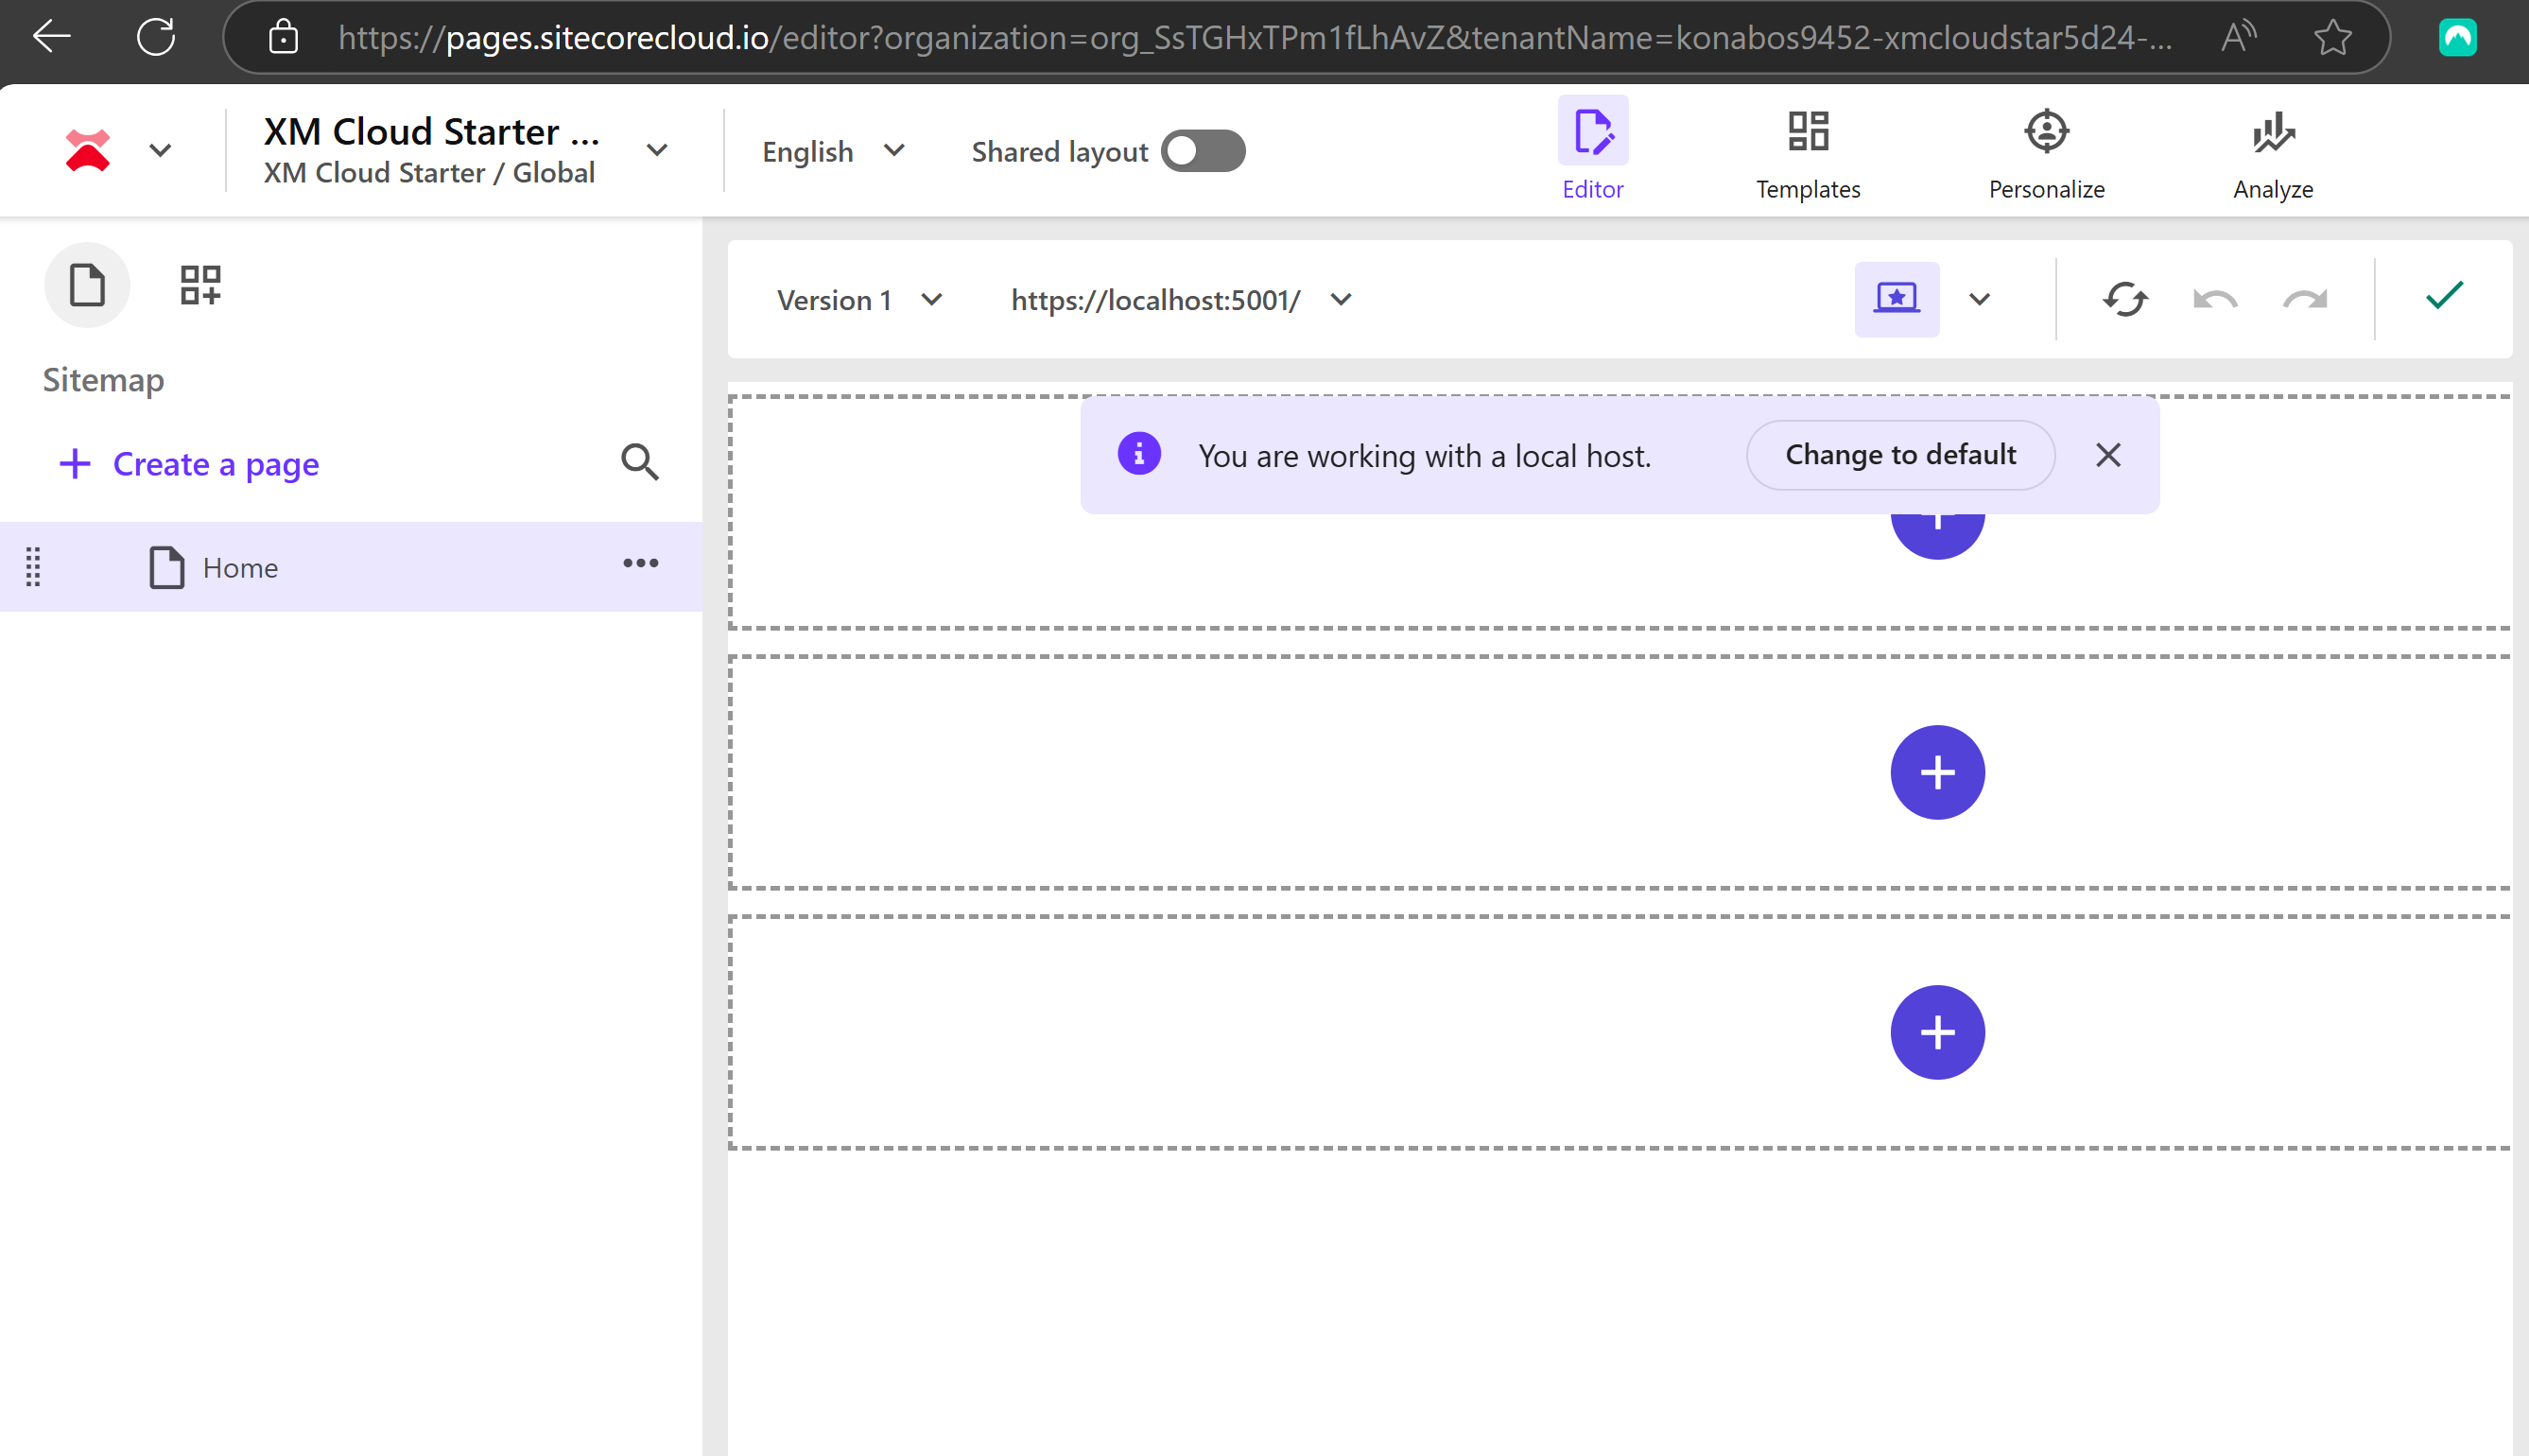
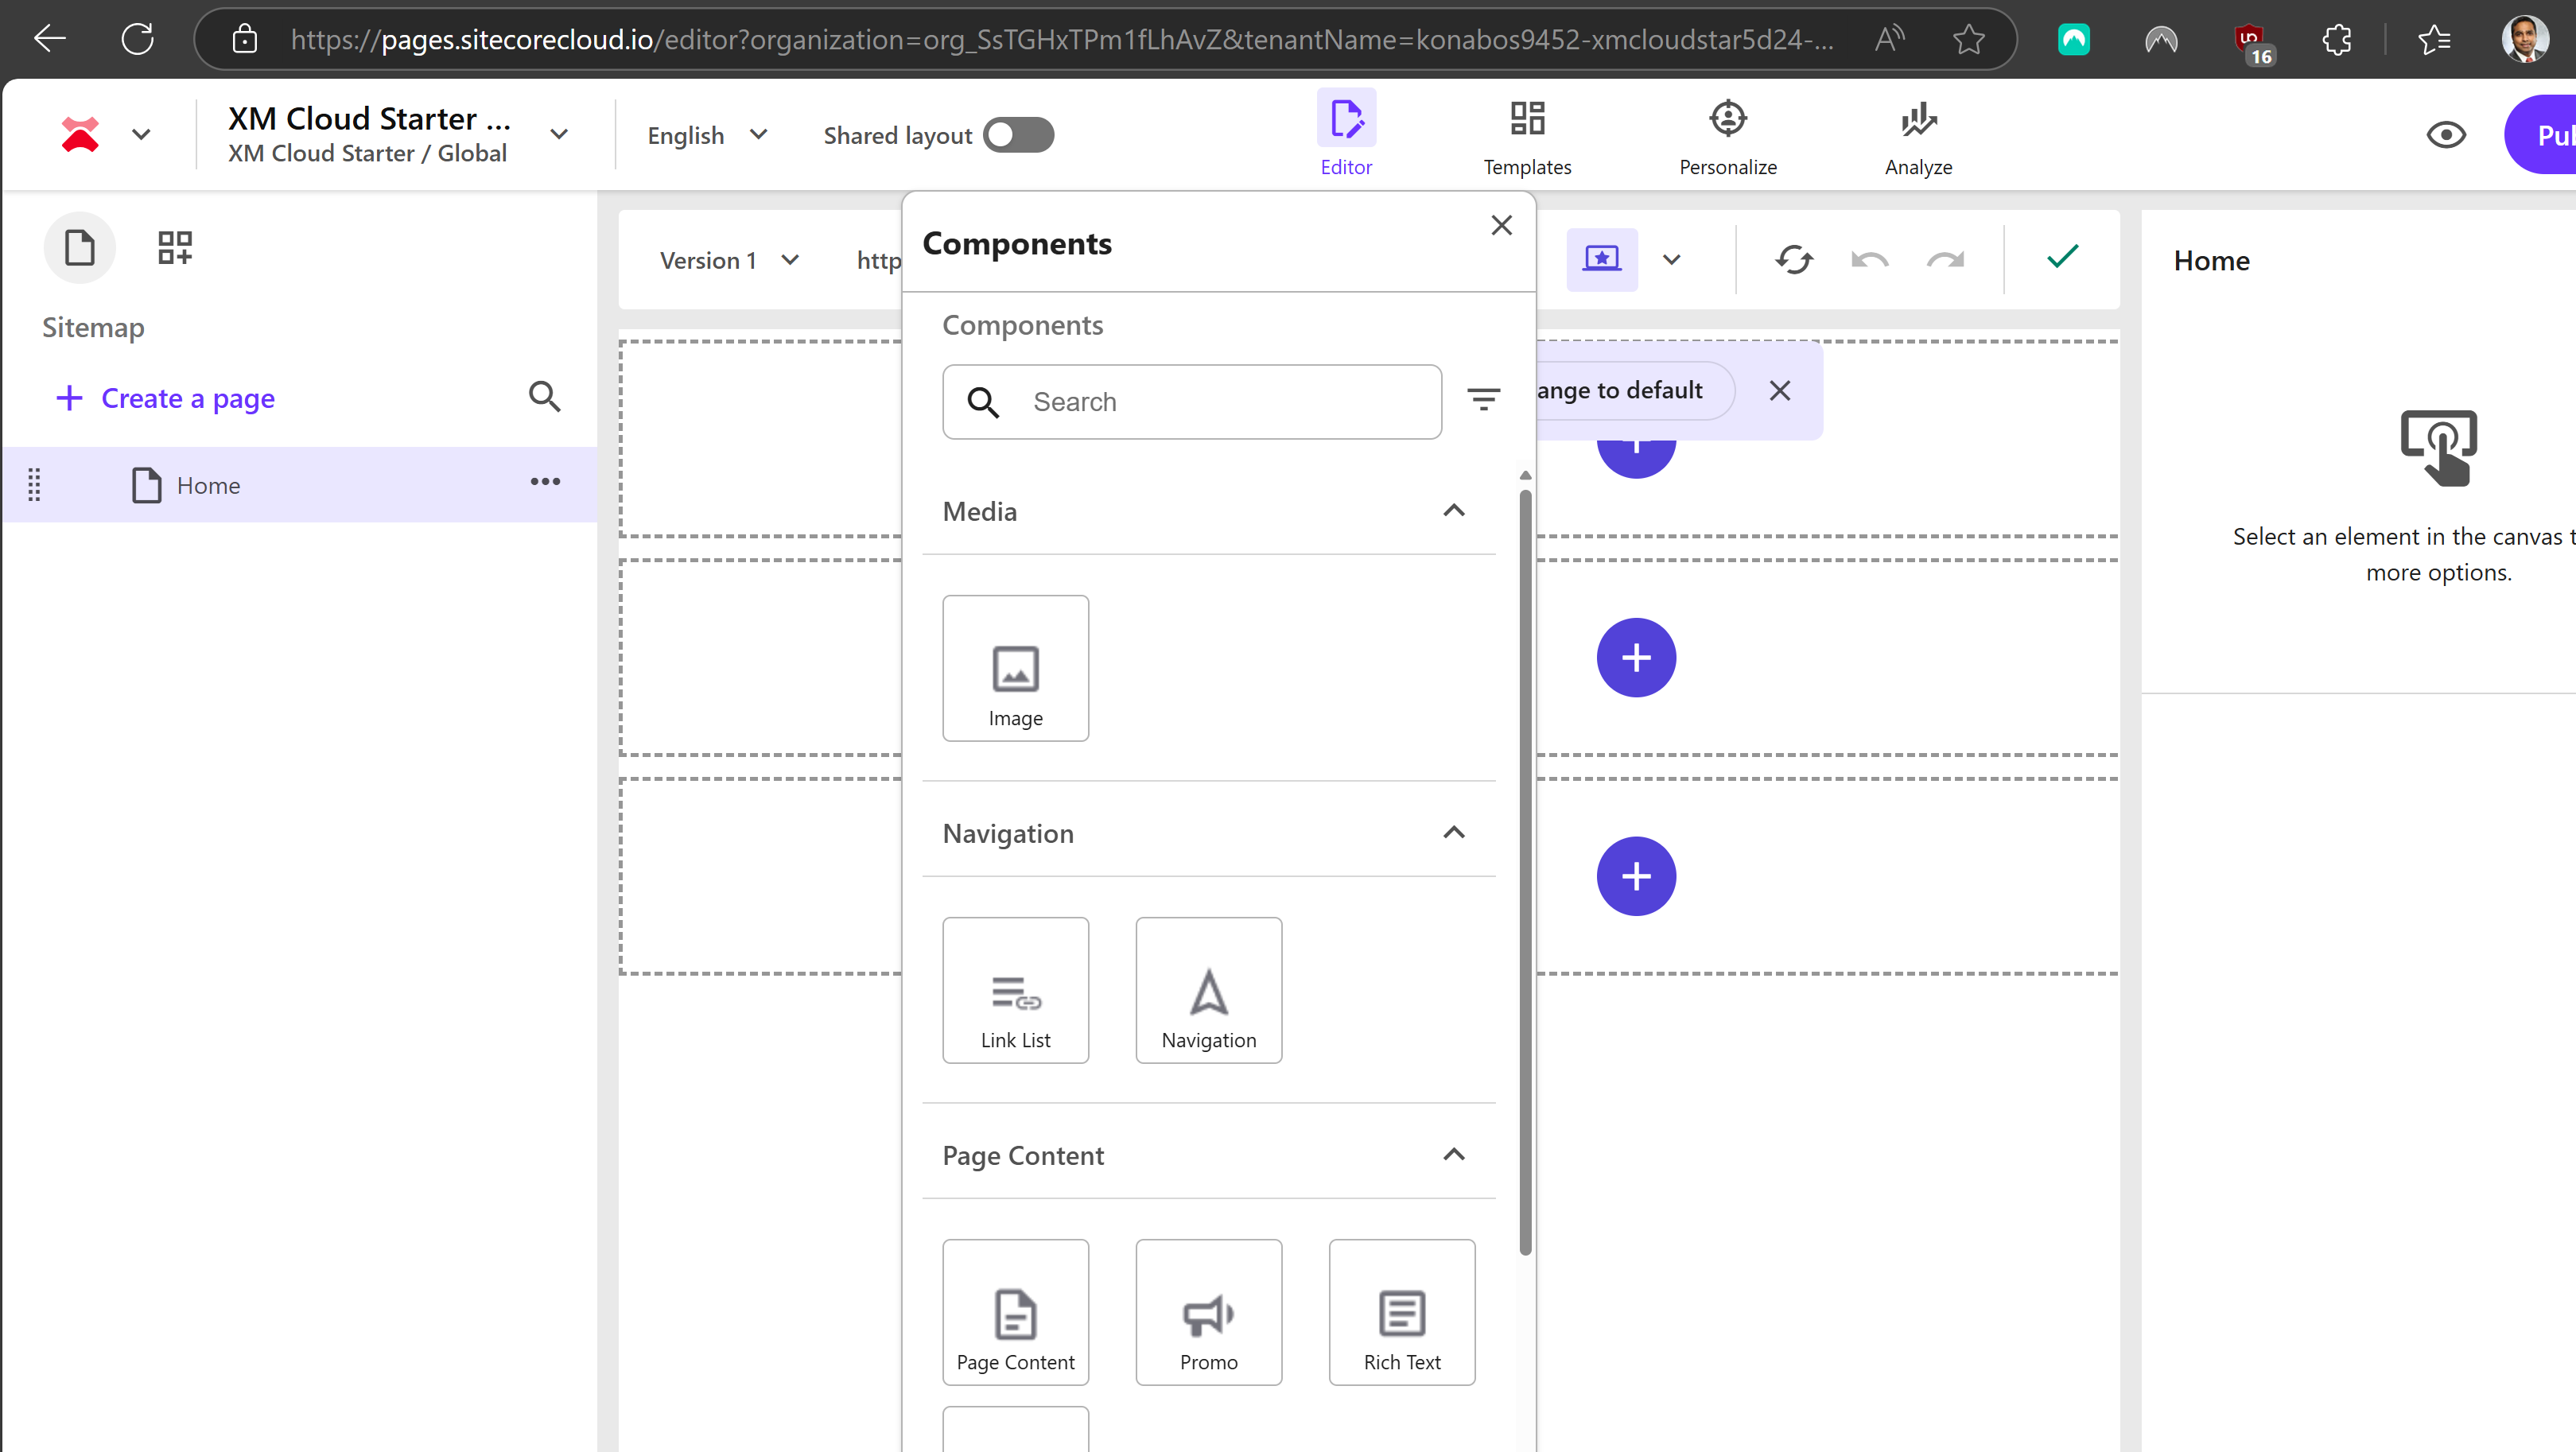
Pages editor is now connected to the application running on your local visual studio. You can now use the Pages editor and see the changes immediately. Not all components are supported at this moment.
Note: During my testing I was using the Brave browser (one of the secure browsers) and the pages edit was not hooking to the localhost due to the high security setting. This can also happen if you have any adblockers.
Huge shout out to Rob Earlam. I have known Rob for years and he has always been super helpful and kind. His support is invaluable during my work on this topic.
Ready to elevate your XM Cloud? Contact us today.

Akshay Sura
Akshay is a nine-time Sitecore MVP and a two-time Kontent.ai. In addition to his work as a solution architect, Akshay is also one of the founders of SUGCON North America 2015, SUGCON India 2018 & 2019, Unofficial Sitecore Training, and Sitecore Slack.
Akshay founded and continues to run the Sitecore Hackathon. As one of the founding partners of Konabos Consulting, Akshay will continue to work with clients to lead projects and mentor their existing teams.
Share on social media