Set Up Xperience by Kentico on Docker in Minutes
Lukasz Skowroński - Senior Solutions Architect
5 Feb 2025
I do not know if you aware of it but Kentico releases changes to XbK a few times every month. They release small fixes as also more complex changes. Frequency of the changes is so high that it may be tough to keep up with them when you work on the customer’s project and you may need to focus on day to day tasks. Customers are not always interested in updating environments so often as they should be.
This is why I was looking for an option to install Xperience by Kentico in Docker containers to be able start off a new environment with the latest changes whenever I want to. I wanted to learn and understand incoming changes.
I started with simple setup but it quickly became something that I thought may be useful for Kentico Community – so with this, let me introduce “xbk-on-docker” repository that will allow you to setup your environment in just a few clicks.
First – prerequisites
To use a prepared setup, you have to be on Windows and fulfill the rest of the prerequisites listed in the readme file (also added to the repository).
Before you start, verify if you fulfill requirements from the list:
- Xbk license file (Kentico requirement)
- Enabled virtualization (docker requirement)
- Installed GIT (environment requirement)
- Installed Docker Desktop (environment requirement)
- Changed execution policy (environment requirement)
- .NET 8 or .NET 9 installed (environment requirement)
- Docker switched into linux containers (docker requirement)
- Stopped other services like IIS, SQL Server etc
Installation
When you have all of the prerequisites you can start installation process.
Clone repository https://github.com/konabos/xbk-on-docker to the folder where you want to keep your sandbox environment.
Remember that :
- you can have multiple environments on single machine
- environments cannot be running at the same time (ports and licensing limitation)
- you can use only localhost as your host (licensing limitation)
When you selected your folder, open terminal or PowerShell and run:
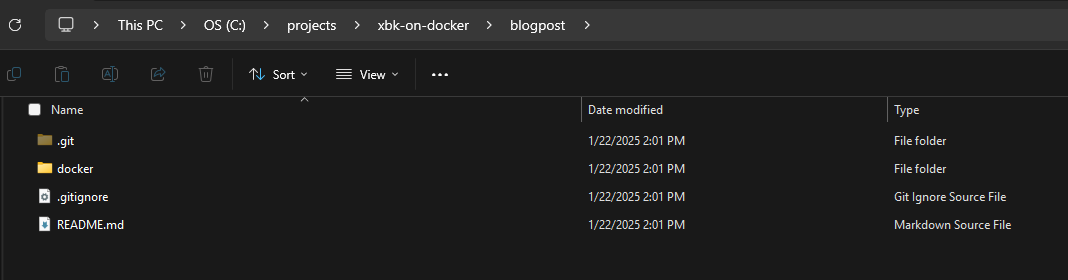
git clone git@github.com:konabos/xbk-on-docker.git .
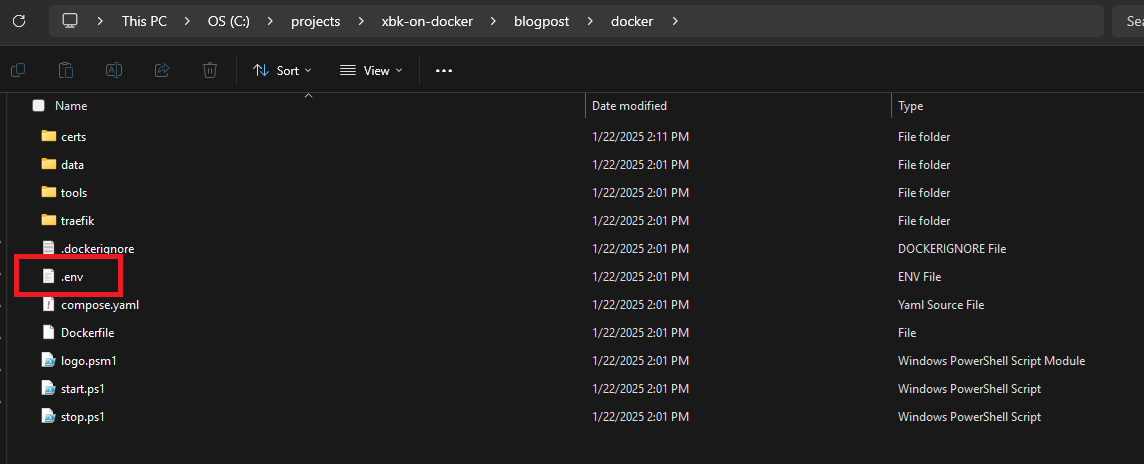
It will clone repository to your folder and the content will look like this:
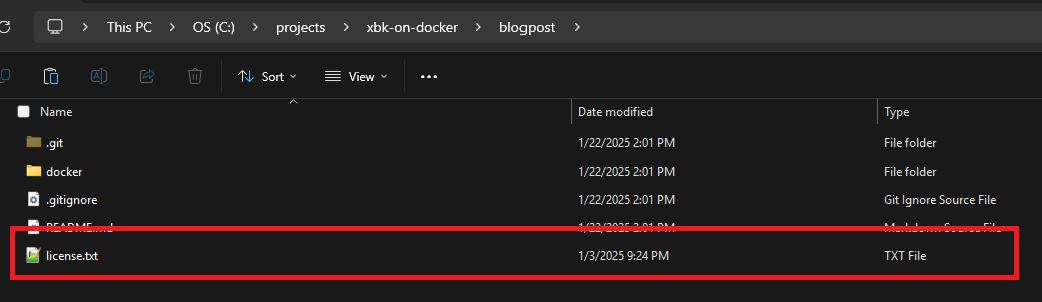
Now, you can place your license.txt file in this directory and you will be ready to compose your docker environment.
Open your terminal/PowerShell as administrator and change directory to ‘docker’ folder that is a part of repository.

Inside the docker folder we store configuration files with environment and networking settings.
From the terminal run “start.ps1 -Init” script (REMEMBER ABOUT RUNNING IT AS ADMINISTRATOR)

It will start with creation of the certificates for your local environment and installation process. Simply confirm all of the values by pressing enter and do not set any password for that self-signed certificate.
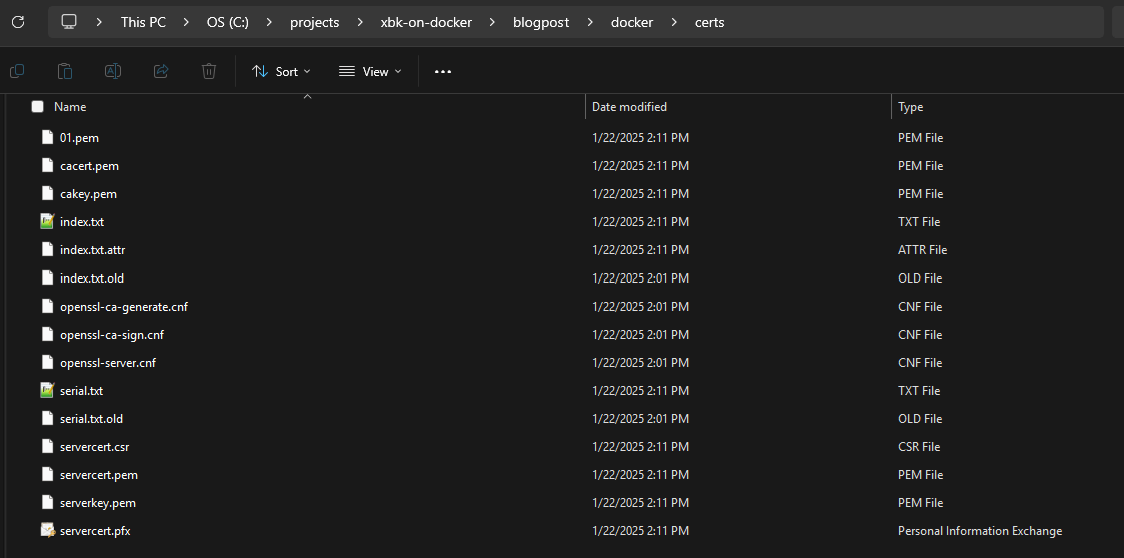
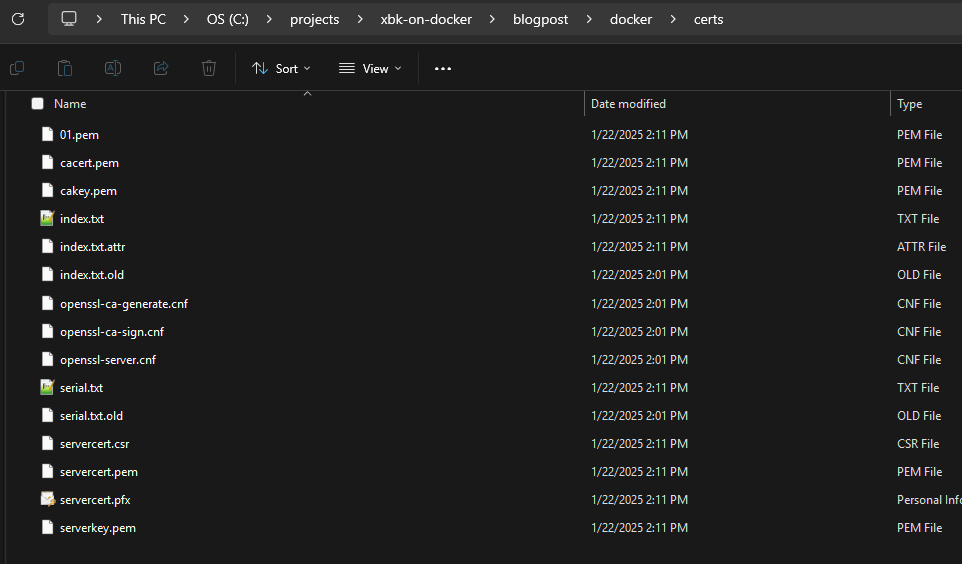
If everything went fine, you should be able to find your certs inside docker/certs directory:
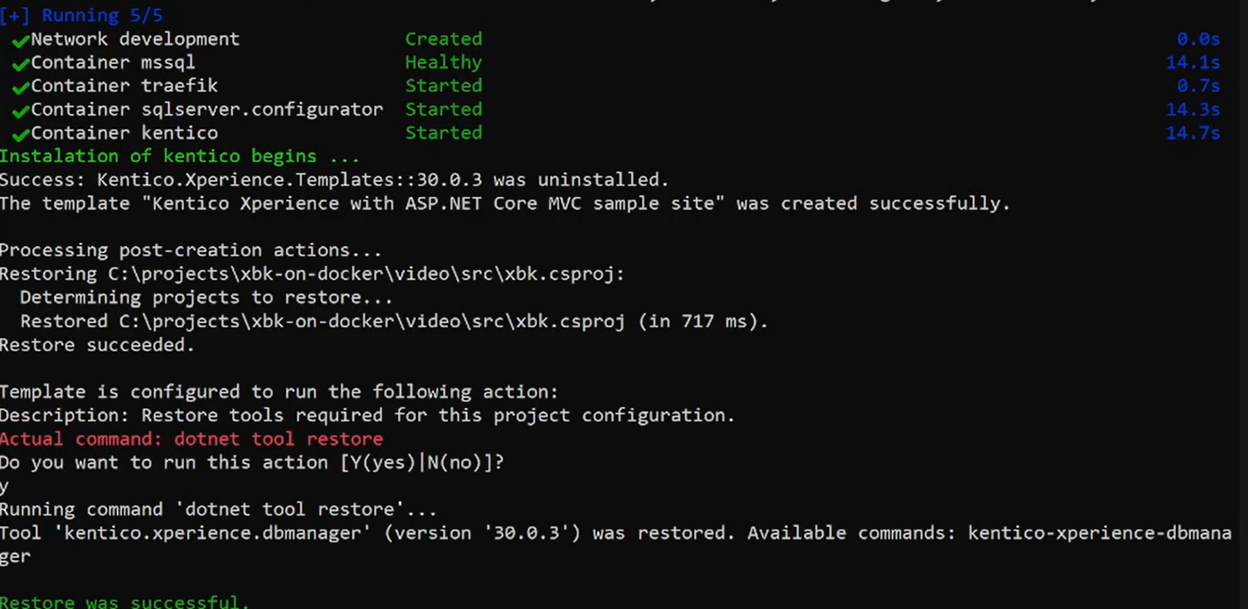
Initialization of your XbK instance will look in a similar way to:
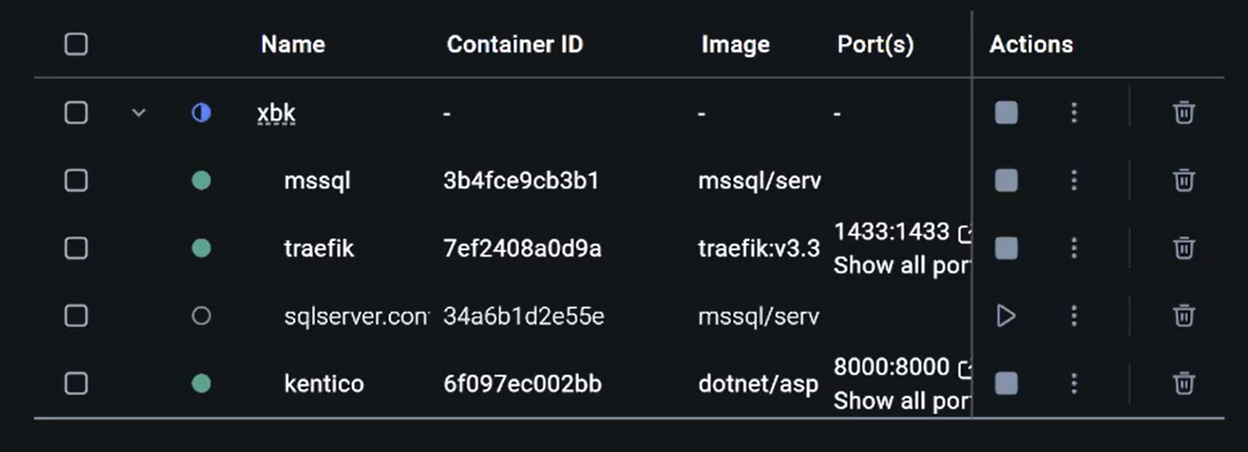
And you should see all of your containers up & running properly:
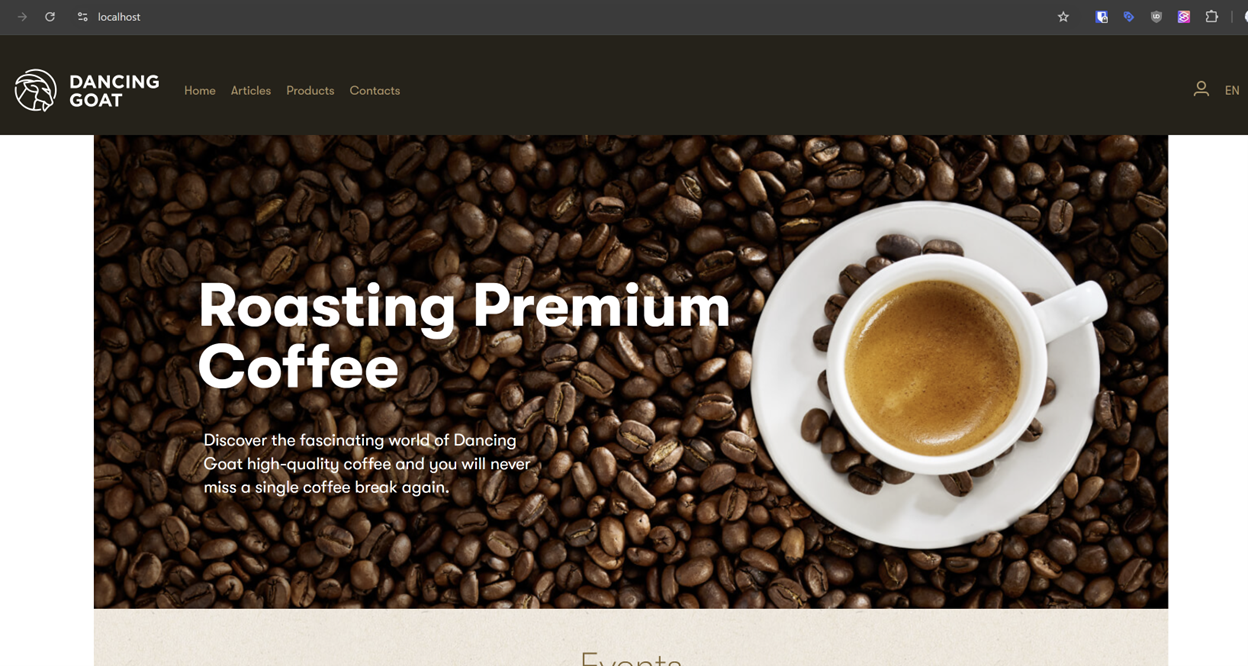
At the end, scripts will automatically open http://localhost instance in your default browser:
You can also access administration panel :
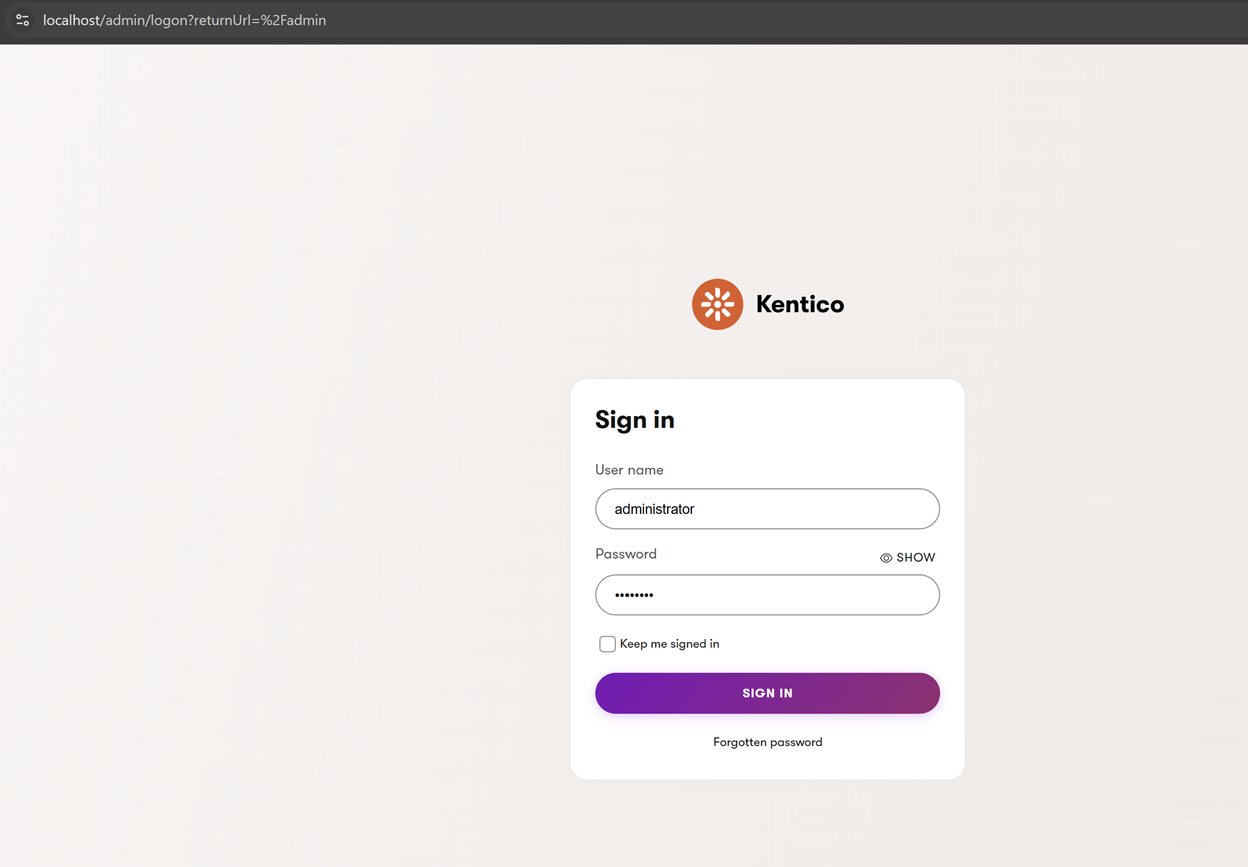
To access the panel, use credentials from .env file
By default you can use username “administrator” and password “password”.
Other hints
Starting from this point, you have docker environment to play with.
If you want to reset your database, you can runt again start.ps1 -Init and your data will be erased.
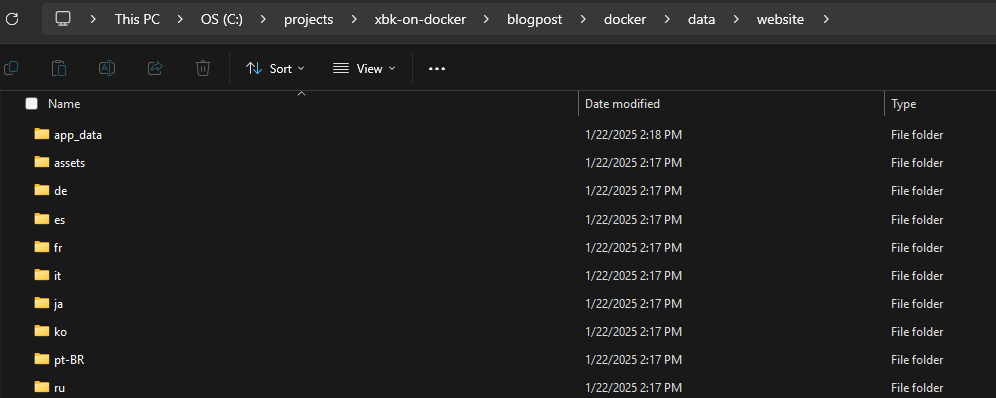
If you want to deploy your code to check how it works – publish changes to docker/data/website directory:
If you want to have composed multiple XbK instances, you can copy and paste certificates between the folders. Just copy all the files from docker/certs directory and paste them into freshly cloned from git directory:
Thanks to copied certificates, initialization process will be quick and you will also avoid a mess in your local machine certificates.
If you want, you can play with configuration inside .env file and change things like:
- Kentico credentials
- type of the Kentico project (you can use all provided by Kentico projects)
- sql server password
Xbk on Docker can be used for learning or demo purposes. With some additional effort, you can fork it and use it as a base for your local development setup too.
We will be adding some updates, and if you have some time, feel free to participate in this project, fork it, and submit pull requests to improve it.

Lukasz Skowroński
For over 18 years, I have developed numerous solutions for customers worldwide. I specialize in DXP platforms, including Sitecore, Xperience by Kentico, and various CMSs such as Umbraco. So far, I have been awarded nine times with the Sitecore MVP title, once with the Kentico MVP. I continuously support various communities by organizing local user groups and larger conferences like Sitecore User Group Conference Europe (SUGCON Europe), as well as by sharing knowledge through blog posts.
Share on social media